Materials Needed:
- Cardstock or sturdy paper
- Markers, crayons, or paint
- Stickers or embellishments
- Hole punch and ribbon
Steps:
- Cut the cardstock into a long rectangular shape (approximately 6 inches by 2 inches).
- Have your child decorate the bookmark using markers, crayons, or paint. They can draw pictures, write their name, or add fun designs.
- Once decorated, punch a hole at the top of the bookmark.
- Thread a ribbon through the hole for a finishing touch.
- Allow everything to dry and use it to mark your place in any book.
Customizable Notebook Covers
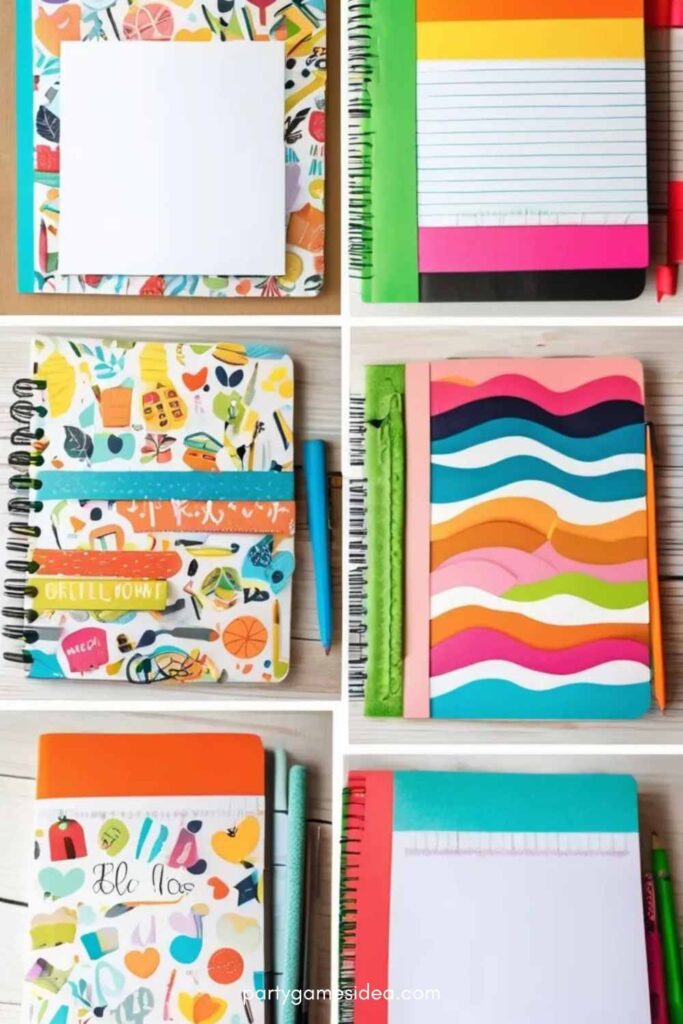
Create unique, eye-catching notebook covers that reflect your child’s personality and creativity. This craft adds a personal touch to everyday school supplies.
Materials Needed:
- Plain notebook or composition book
- Colored paper
- Glue or double-sided tape
- Scissors
- Stickers, fabric, or photos for decoration
Steps:
- Measure and cut a piece of colored paper to fit the front cover of the notebook.
- Glue or tape the paper to the cover, ensuring it fits neatly around the edges.
- Let your child decorate the notebook cover with stickers, photos, or fabric scraps. They can draw or write their name and add embellishments like glitter or sequins.
- Once everything is set, let it dry before using the notebook for school.
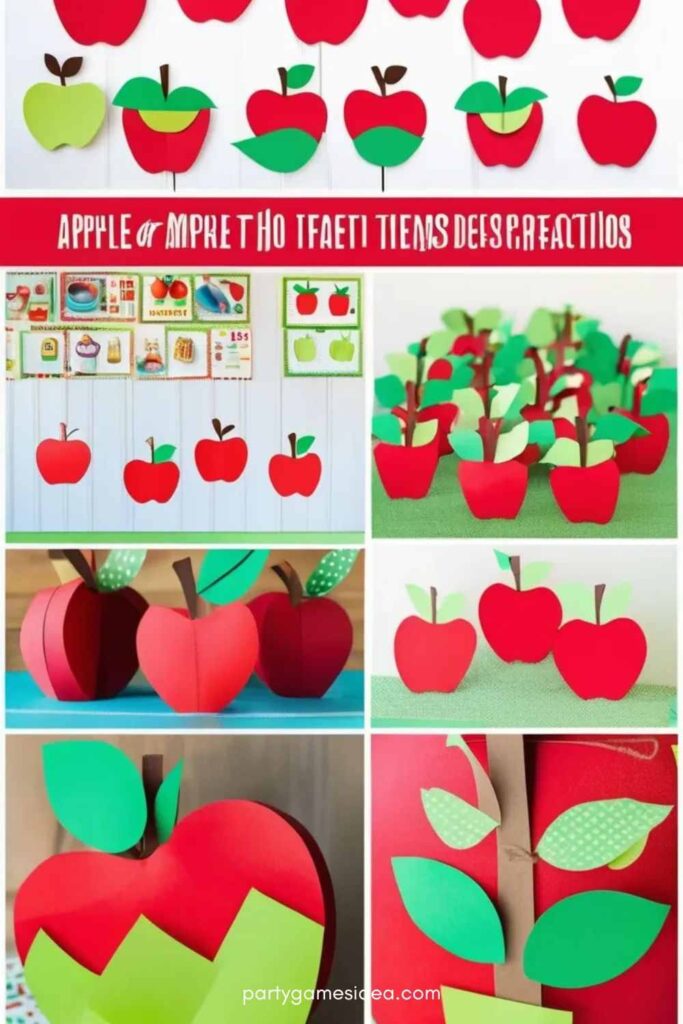
Apple-Themed Classroom Decorations
Add a little extra cheer to the classroom with adorable apple decorations. These crafts are perfect for welcoming the school year.
Materials Needed:
- Red, green, and brown construction paper
- Scissors and glue
- Markers or crayons
Steps:
- Cut out apple shapes from the red construction paper. You can make them as large or small as desired.
- Cut out leaves and stems from green and brown construction paper.
- Glue the leaves and stems to the top of the apples.
- Let your child add faces, patterns, or additional decorations to the apples using markers or crayons.
- Use the finished apples as wall hangings or to decorate your child’s desk.
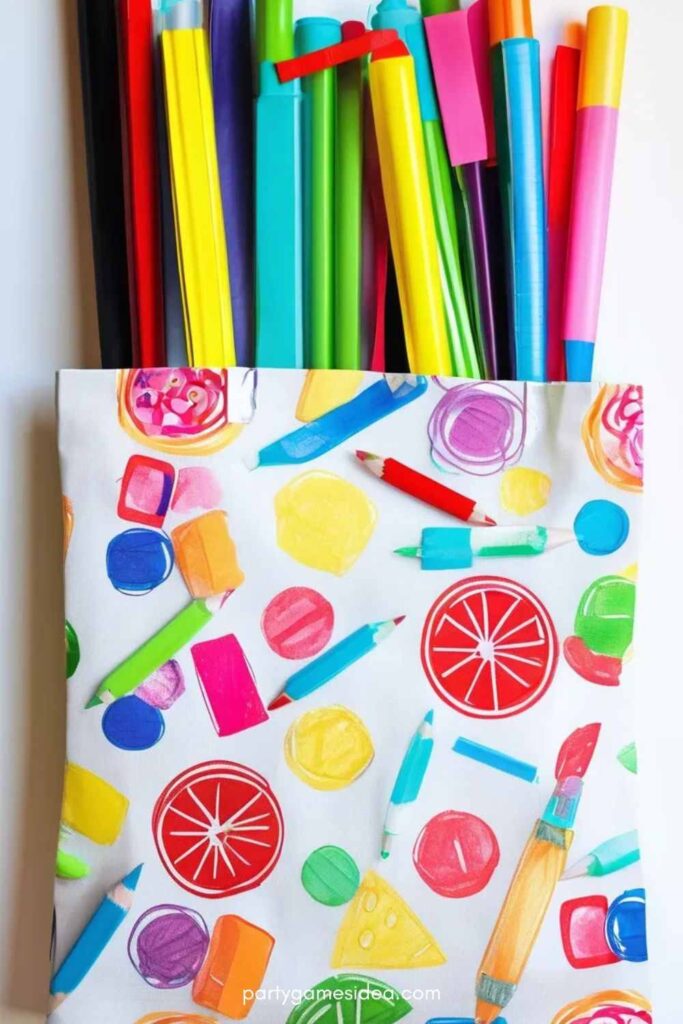
School Supplies Tote Bag
Make a personalized tote bag for carrying school supplies. This craft allows your child to express their style while making a useful item.
Materials Needed:
- Plain canvas tote bag
- Fabric paint or markers
- Stencils (optional)
- Brushes or sponges
Steps:
- Lay the tote bag flat on a protected surface.
- Use fabric paint or markers to decorate the tote bag. Your child can add their name, favorite colors, or school-related designs like books and pencils.
- If using stencils, secure them in place and paint over them to create shapes or patterns.
- Allow the paint to dry completely before using the tote for school.
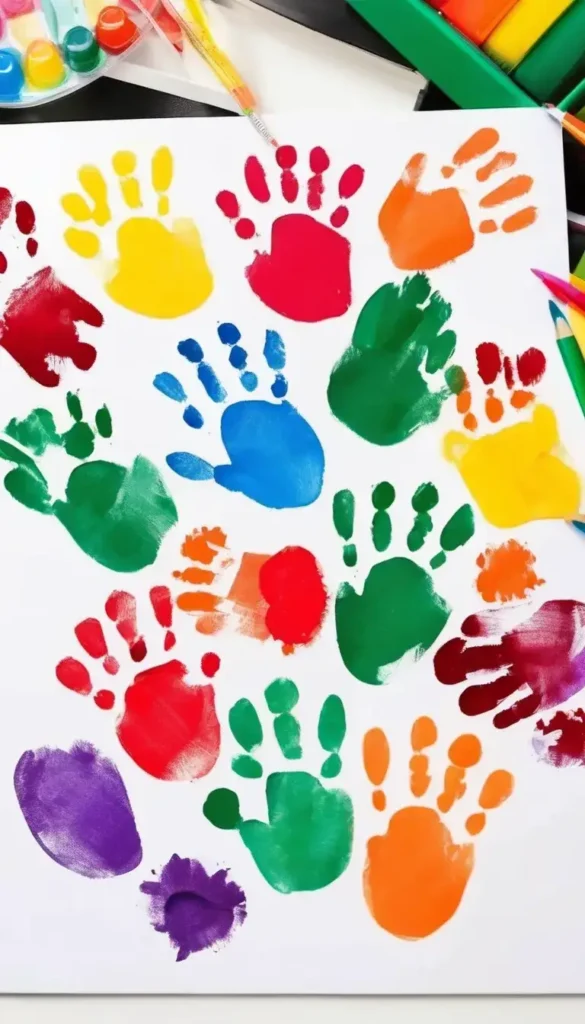
Handprint or Footprint Art for Teachers
Create a heartfelt gift for the teacher with handprint or footprint art. This meaningful craft can serve as a keepsake for the teacher.
Materials Needed:
- Paint (non-toxic)
- Paper or canvas
- Markers or pens for additional details
Steps:
- Paint your child’s hand or foot with a non-toxic paint color.
- Press the hand or foot onto the paper or canvas to make an imprint.
- Once the print is dry, add details like eyes, a smile, or additional designs to complete the art piece.
- Write a special note or message to the teacher, if desired.
- Allow everything to dry before gifting it to the teacher.
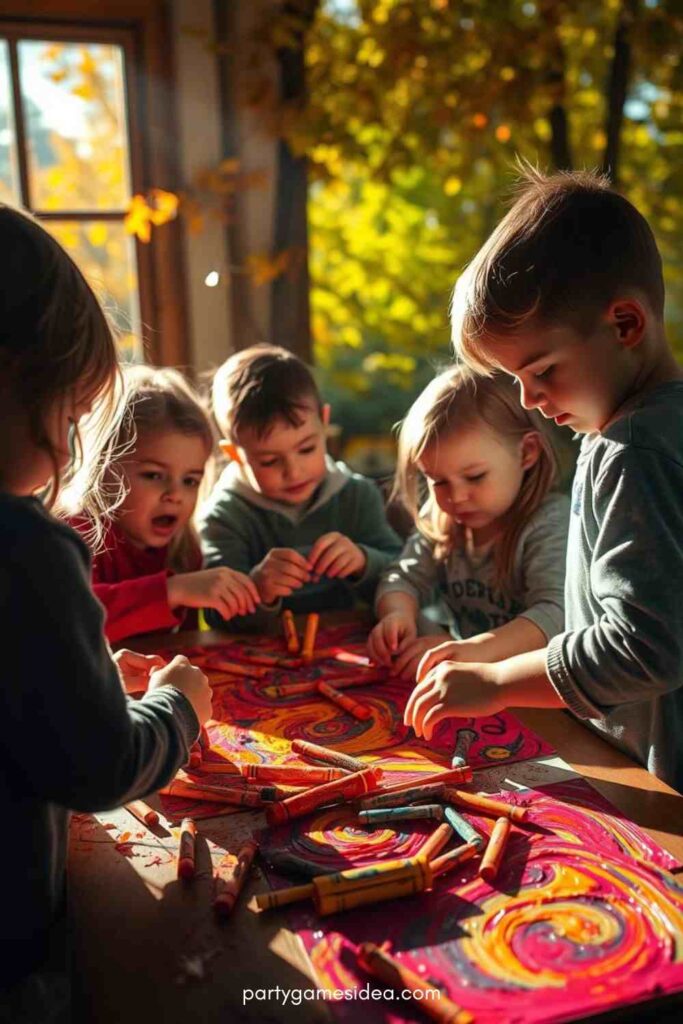
Recycled Crayon Art
Transform broken crayons into fun, new shapes. This eco-friendly craft gives new life to old crayons and provides a creative activity.
Materials Needed:
- Old crayons
- Silicone molds or muffin tin
- Oven
Steps:
- Peel the paper off the old crayons and break them into small pieces.
- Preheat the oven to 250°F (120°C).
- Place the crayon pieces into the silicone molds, filling them halfway.
- Put the molds in the oven and bake for about 10-15 minutes until the crayons melt completely.
- Let the melted crayons cool and harden before removing them from the molds.
- Use the new crayons for coloring or gifting them to friends.
Locker or Desk Organization Projects
Get organized for the school year by creating functional and fun desk or locker organizers. This craft helps keep school supplies neat and accessible.
Materials Needed:
- Small boxes or containers
- Decorative paper or fabric
- Glue or tape
- Scissors
Steps:
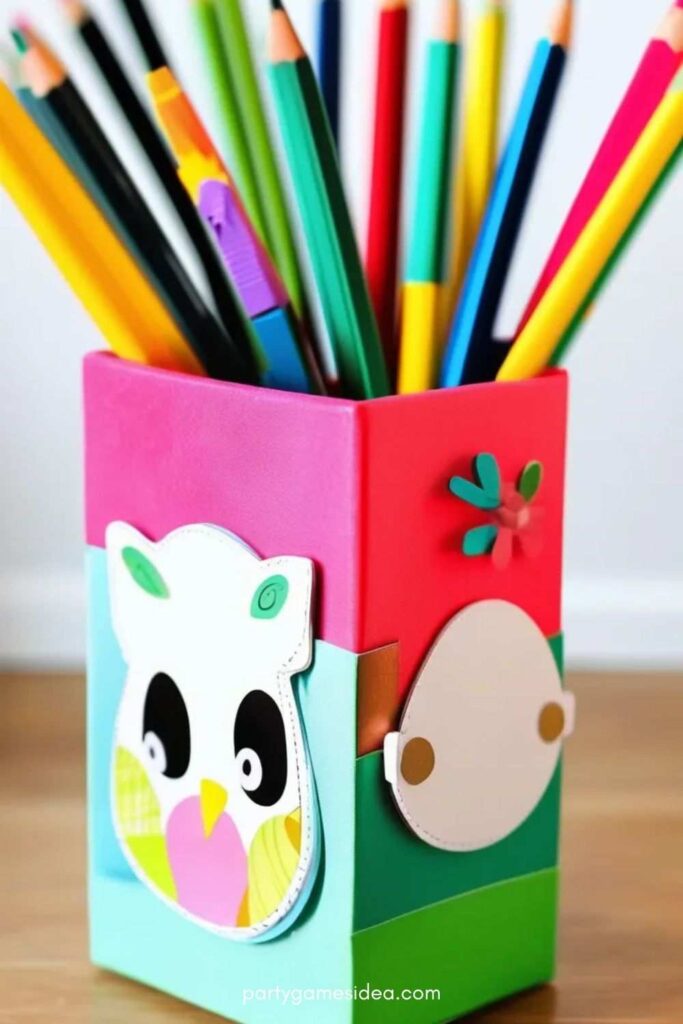
- Start with small boxes or containers. These can be shoe boxes, cereal boxes, or repurposed packaging.
- Cover the boxes with decorative paper or fabric to personalize them.
- Use glue or tape to secure the paper or fabric to the box.
- Arrange the boxes on a desk or in a locker to organize pens, pencils, notebooks, and other supplies.
- Let everything dry before using.
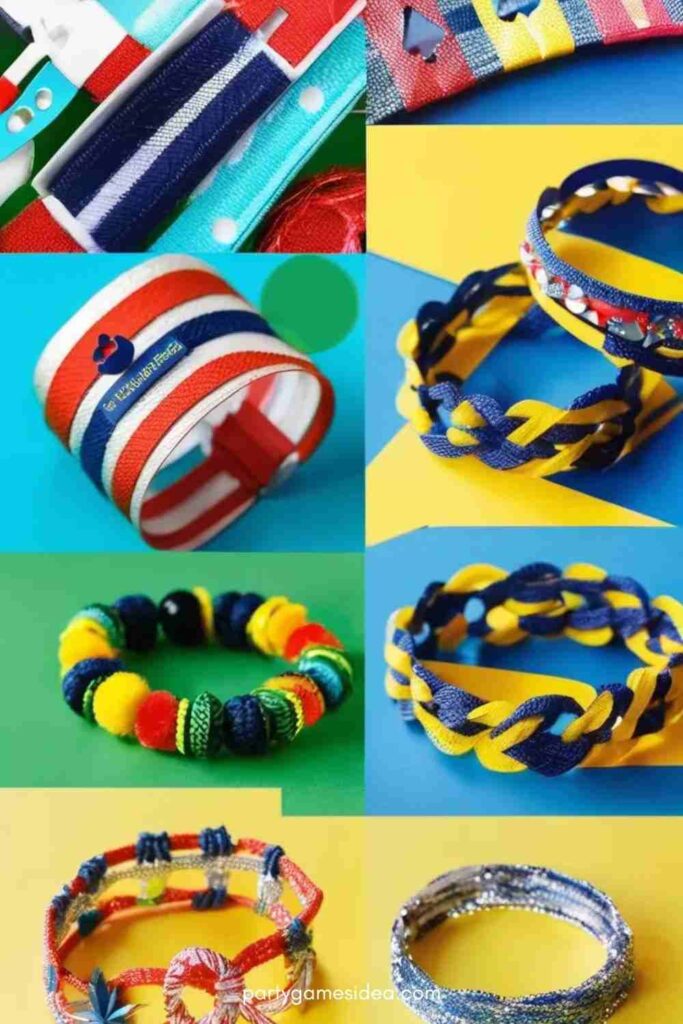
DIY School Spirit Bracelets
Make fun and stylish bracelets to show off school spirit. This craft is perfect for kids who want to wear their school colors with pride.
Materials Needed:
- Colored beads (school colors)
- Elastic cord
- Scissors
- Clasp (optional)
Steps:
- Cut a length of elastic cord long enough to fit around your child’s wrist.
- Thread the beads onto the cord, using the school’s colors or any pattern your child prefers.
- Once the bracelet is the right size, tie the ends of the cord together. You can add a clasp if desired.
- Help your child wear the bracelet to school for a fun, personalized accessory.
Back-to-School Picture Frame
Create a fun picture frame to hold a first-day-of-school photo. This craft helps capture memories from the start of the year.
Materials Needed:
- Wooden or cardboard frame
- Paint or markers
- Stickers or embellishments
- Glue
Steps:
- Start with a plain wooden or cardboard frame.
- Paint or color the frame with your child’s favorite colors or designs.
- Add stickers, rhinestones, or other embellishments to make it unique.
- Once everything is dry, insert a first-day-of-school photo into the frame.
Decorated Pencil Case
Make a custom pencil case that your child can use to store school supplies. This craft is both fun and functional.
Materials Needed:
- Plain pencil case
- Fabric markers or paint
- Stencils or stamps
- Stickers
Steps:
- Lay the pencil case flat on a surface.
- Use fabric markers or paint to decorate the pencil case. Your child can add their name, drawings, or favorite quotes.
- If desired, use stencils or stamps to add additional designs.
- Allow the pencil case to dry before using it for school supplies.
Glittering School Supplies
Add a little sparkle to school supplies with glitter! This craft makes everyday items more exciting.
Materials Needed:
- Pencils, notebooks, or erasers
- Glitter glue or loose glitter
- Paintbrush or sponge
Steps:
- Apply a thin layer of glitter glue to the school supplies.
- Sprinkle loose glitter on top or use a sponge to spread glitter glue over the surface.
- Allow everything to dry completely before using the glittered items at school.
Pencil Topper Monsters
Create fun and quirky pencil toppers that make school supplies extra special.
Materials Needed:
- Felt or foam sheets
- Googly eyes
- Glue
- Scissors
Steps:
- Cut out small shapes from the felt or foam sheets to create monster faces or fun designs.
- Glue googly eyes onto the shapes to make them more lively.
- Attach the finished pieces to the top of pencils using glue.
- Let the glue dry and enjoy the new, fun pencil toppers.
Paper Plate School Bus
Make a cute school bus from a paper plate for a fun back-to-school decoration or play item.
Materials Needed:
- Paper plate
- Yellow paint
- Black construction paper
- Scissors and glue
Steps:
- Paint the paper plate yellow and let it dry.
- Cut out black circles from the construction paper for the wheels.
- Glue the black circles onto the bottom of the paper plate.
- Add additional details like windows and a door to complete the bus.
- Let the craft dry before using it for decoration or play.
Name Tag Craft
Create personalized name tags that kids can wear on the first day of school.
Materials Needed:
- Cardstock or sturdy paper
- Markers, crayons, or stickers
- Hole punch and string
Steps:
- Cut out a rectangular shape from cardstock.
- Have your child decorate their name tag with their name, drawings, or stickers.
- Punch a hole at the top and attach a string for wearing.
- Let the name tag dry before using it on the first day of school.
Button Bookmark
Make a simple yet cute bookmark from buttons and cardstock.
Materials Needed:
- Cardstock
- Buttons
- Glue
- Scissors
Steps:
- Cut a strip of cardstock to the desired bookmark size.
- Glue a button at the top of the strip to act as a decorative element.
- Decorate the rest of the bookmark with additional buttons or drawings.
- Let the glue dry before using the bookmark.
Back-to-School Greeting Cards
Make personalized greeting cards for teachers or classmates to start the year on a friendly note.
Materials Needed:
- Blank cards or cardstock
- Markers, crayons, or stickers
- Glue
Steps:
- Fold the cardstock into the shape of a card.
- Have your child decorate the front with drawings, messages, or stickers.
- Write a personalized message inside the card.
- Let everything dry before handing out the cards.
FAQ
What are some easy Back To School Crafts For Kids?
Some easy craft ideas for younger kids include personalized pencil holders, simple bookmarks, and paper plate school buses. These crafts are fun and can be completed with minimal supplies.
How can crafting help kids prepare for school?
Crafting helps kids develop essential skills like creativity, fine motor skills, problem-solving, and self-expression. It also allows them to get excited about school with personalized items like pencil cases, notebooks, and decorations.
What materials are needed for Back To School Crafts For Kids?
Common materials include construction paper, scissors, glue, markers, crayons, stickers, fabric, and any recycled items like tin cans or cardboard boxes. Most of these supplies are easy to find and inexpensive.
How do crafts benefit kids’ development?
Crafting benefits kids by enhancing fine motor skills, improving hand-eye coordination, boosting creativity, and building self-confidence. It also fosters patience and focus as they complete a project from start to finish.


