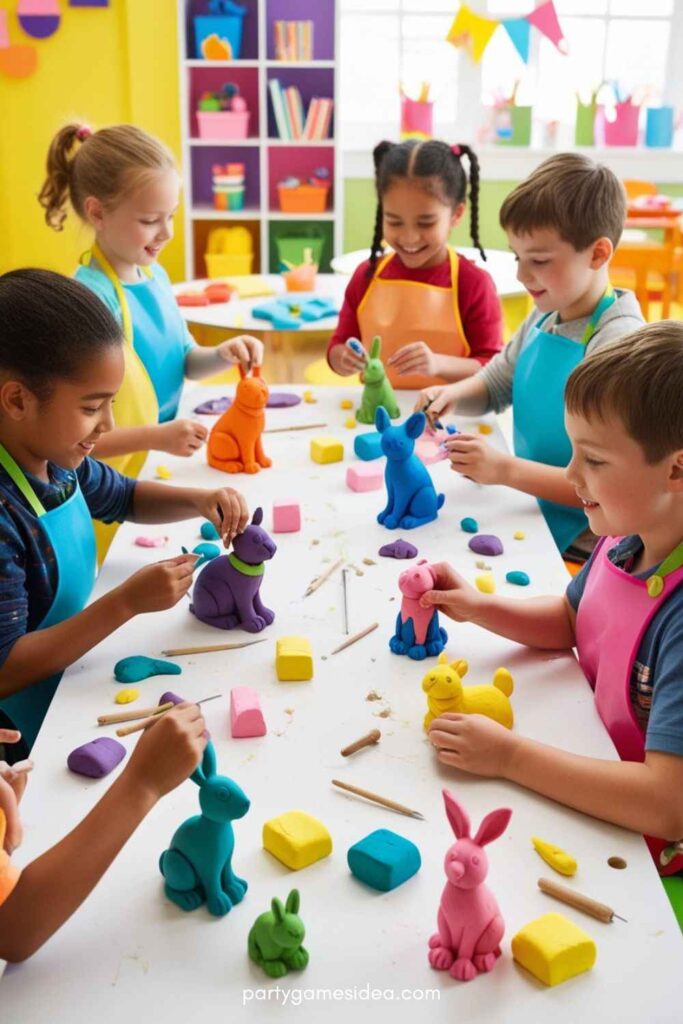
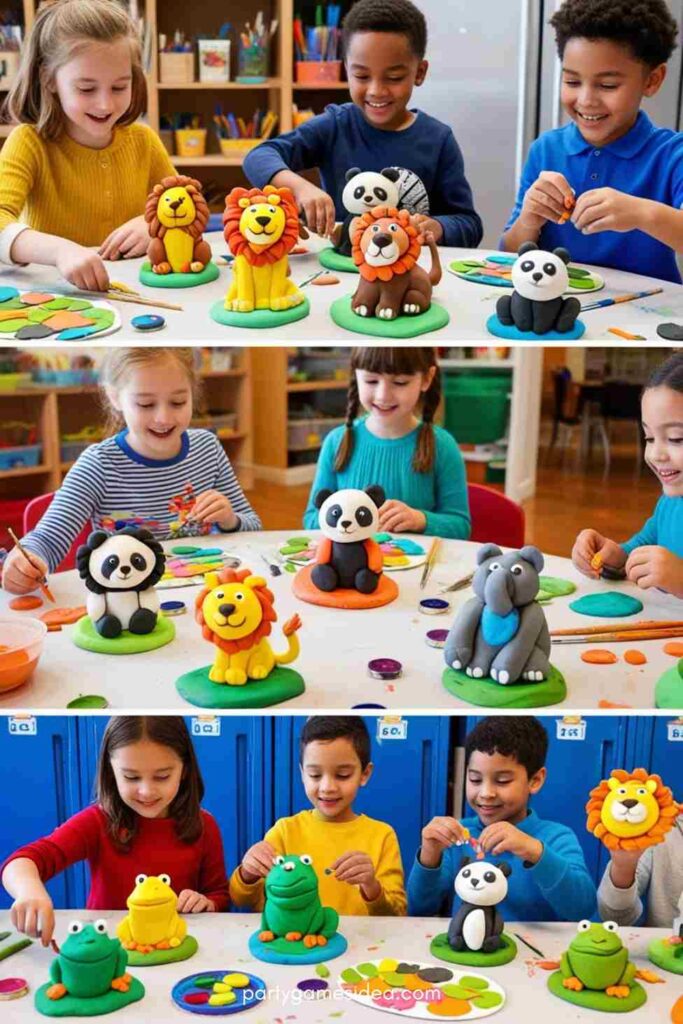
Clay Animal Sculptures
Creating clay animals is a fun way for kids to explore the world of nature while using their imagination. This craft helps develop fine motor skills as kids mold and shape the clay.
Also Check: Drinking Straw Crafts For Kids
Also Check: Cupcake Card Craft Ideas
Steps:
- Choose an Animal: Pick a simple animal to start with, such as a cat, fish, or dog.
- Roll the Clay: Roll small pieces of clay into balls or logs to form the body and head of the animal.
- Shape Details: Use smaller pieces of clay to add features like ears, tails, and legs.
- Smooth and Refine: Smooth out any rough edges using fingers or a sculpting tool.
- Add Texture: Use tools or other objects, like a toothpick, to create fur or scale details.
- Dry and Paint: Let the sculpture dry if using air-dry clay, and then paint with bright colors for finishing touches.
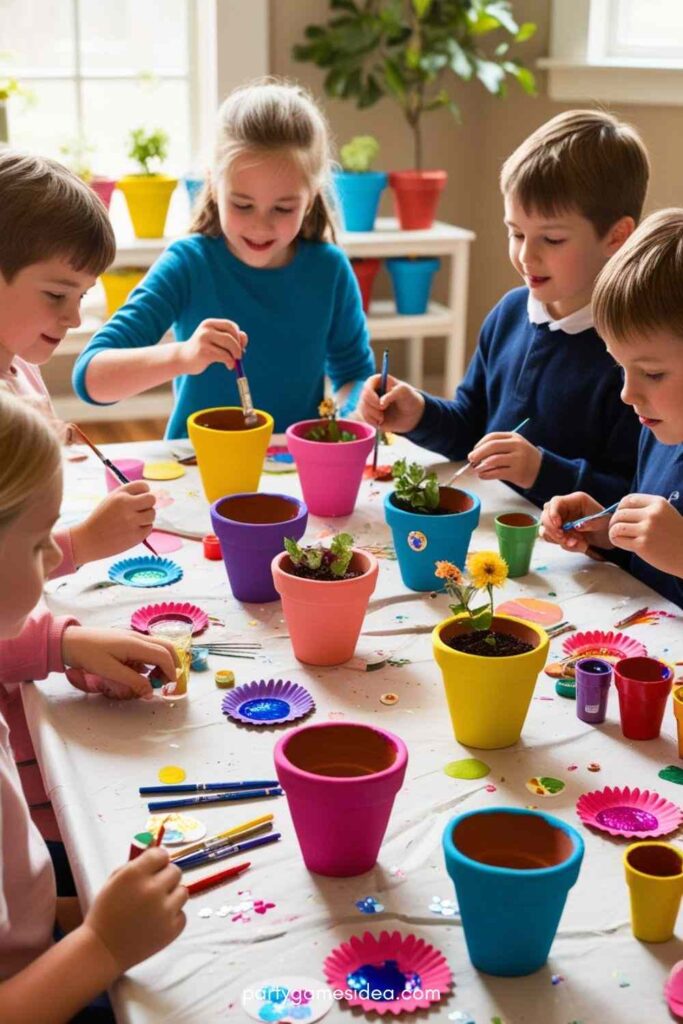
Clay Flower Pots
Kids can create personalized flower pots that are both creative and practical. This project also introduces basic concepts of pottery and design.
Steps:
- Form the Base: Roll a large piece of clay into a thick disc to form the bottom of the pot.
- Build the Sides: Roll another piece of clay into a long strip and wrap it around the base to form the walls of the pot.
- Shape and Smooth: Smooth the edges where the two pieces meet and shape the pot’s sides.
- Add Details: Use small pieces of clay to decorate with flowers, patterns, or textures.
- Dry and Paint: Allow the pot to dry completely, then paint it in vibrant colors for a personalized touch.
Clay Animal Magnets
This craft gives kids the chance to create small animal shapes that can be turned into magnets for the fridge or lockers.
Steps:
- Shape the Animals: Roll small pieces of clay into the shapes of animals like fish, turtles, or birds.
- Add Features: Add eyes, fins, and other details with additional small clay pieces.
- Attach the Magnet: Once the animal is shaped, press a small magnet onto the back.
- Dry and Decorate: Allow the clay to dry, then paint and add details such as patterns or designs.
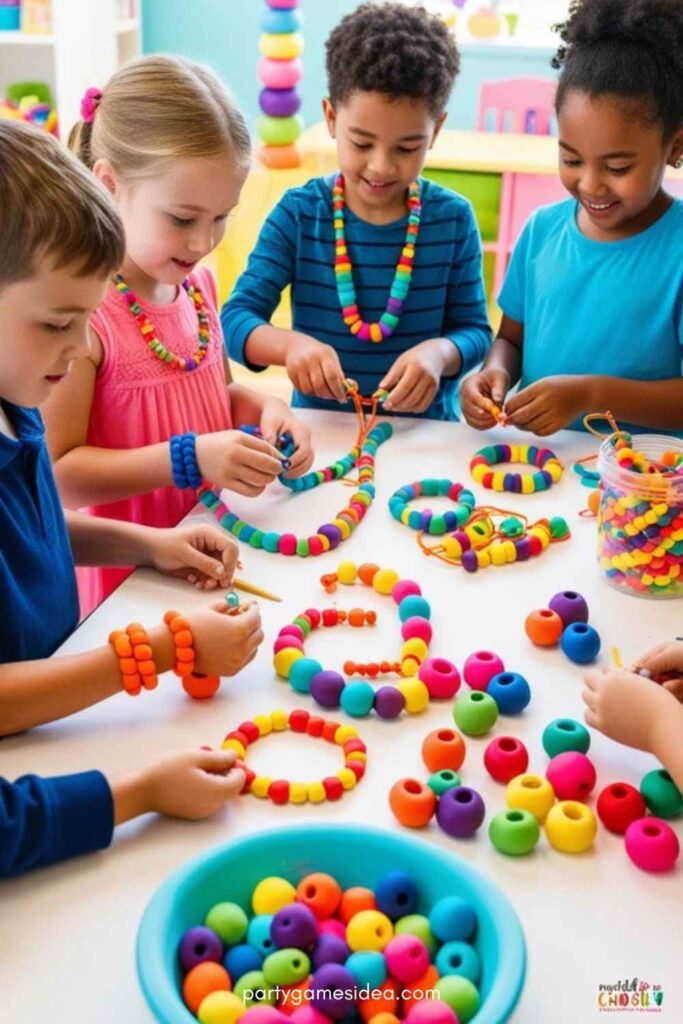
Clay Beads and Jewelry
Making clay beads is a great activity for older kids who are ready to try their hand at crafting wearable art.
Steps:
- Roll the Clay: Roll small balls of clay to form beads. Flatten them slightly if you want them to be oval or square.
- Create Holes: Use a toothpick or straw to poke a hole through the center of each bead.
- Dry the Beads: Allow the beads to dry if using air-dry clay.
- Paint and Decorate: Once dry, paint the beads and add decorative elements like glitter or rhinestones.
- Assemble the Jewelry: Thread the beads onto a string or wire to create a necklace, bracelet, or earrings.
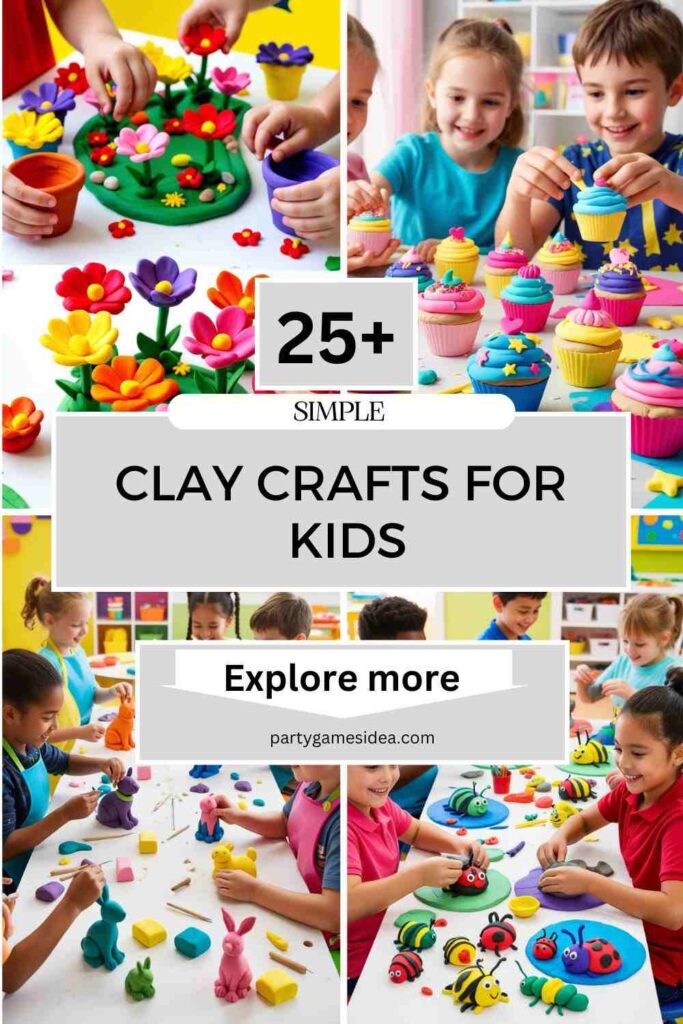
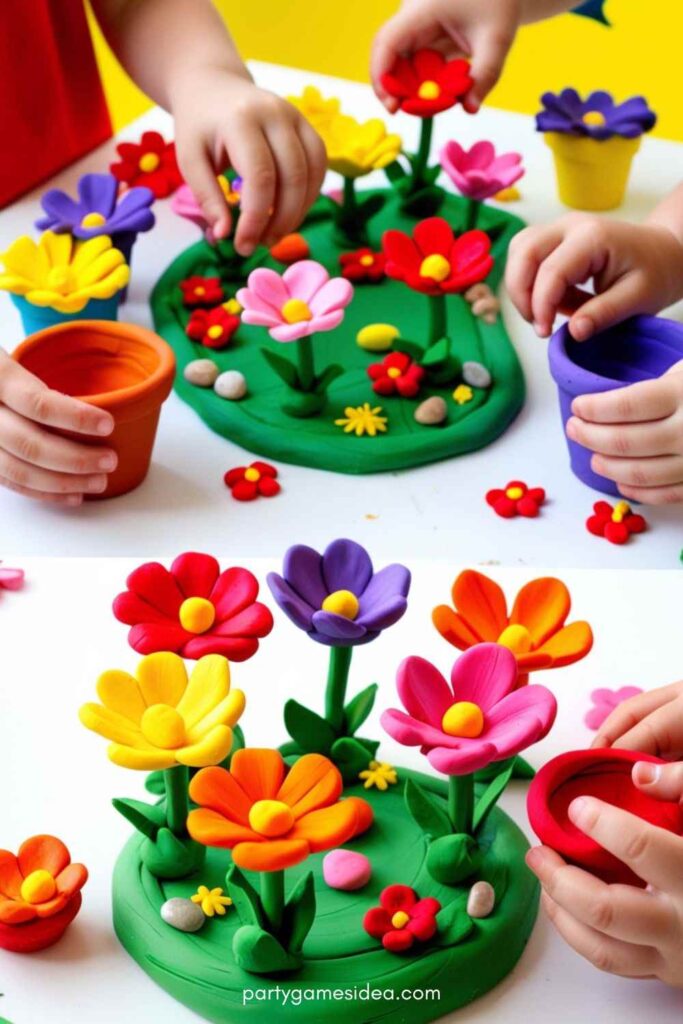
Clay Flower Garden
This is an imaginative craft that lets kids create a whole garden of clay flowers, giving them a chance to explore different shapes and colors.
Steps:
- Make Flower Bases: Roll small balls of clay and flatten them into discs for the base of each flower.
- Shape Petals: Roll thin coils of clay and shape them into petal shapes. Attach them to the center.
- Add Stems and Leaves: Roll thin pieces of clay for the stems and attach them to the flowers. Add small leaves by flattening clay and cutting out leaf shapes.
- Dry and Paint: Allow the flowers to dry and then paint them in a variety of colors.
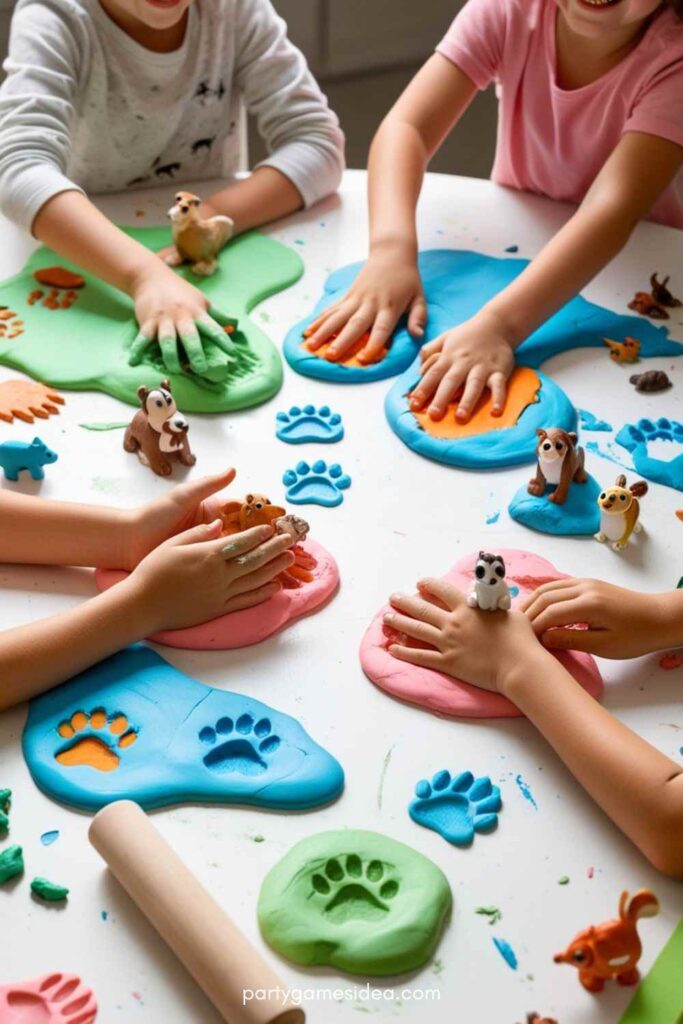
Clay Animal Footprints
This project involves making keepsakes of your child’s own hand or footprint in clay, creating lasting memories.
Steps:
- Roll the Clay: Roll out a flat slab of clay, large enough to fit the child’s hand or foot.
- Make the Print: Have the child press their hand or foot gently into the clay to leave an impression.
- Refine the Edges: Smooth around the edges of the print to tidy up the clay.
- Add Personal Details: Use small pieces of clay to add the child’s name, date, or a fun design around the print.
- Dry and Paint: Allow the clay to dry and then paint for an extra decorative touch.
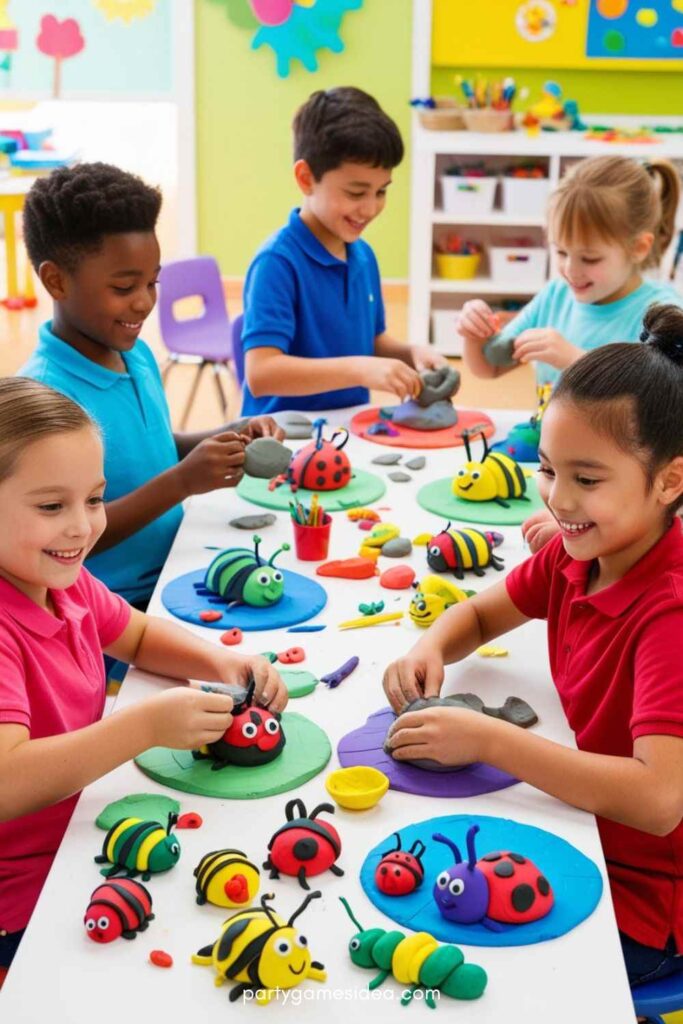
Clay Critters and Bugs
This craft allows kids to create tiny, cute creatures from the world of insects, helping them explore textures and tiny details.
Steps:
- Shape the Body: Start by rolling a ball of clay into an oval or cylindrical shape for the body.
- Add Legs and Antennae: Use small pieces of clay to form legs and antennae, attaching them carefully to the body.
- Add Eyes and Details: Add tiny eyes, wings, or additional features like stripes or dots.
- Dry and Decorate: Let the clay critters dry, then paint them in fun, bright colors.
Clay Cupcakes
This clay craft idea is perfect for kids who love sweet treats and want to make their own mini cupcakes.
Steps:
- Form the Cupcake Base: Roll a ball of clay and flatten it slightly to create the base of the cupcake.
- Make the Frosting: Roll another piece of clay into a coil and gently twist it to create the frosting. Attach it to the top of the base.
- Decorate: Add details like sprinkles, cherries, or even tiny clay flowers to the top of the frosting.
- Dry and Paint: Allow the cupcakes to dry and paint them in realistic or fun colors.
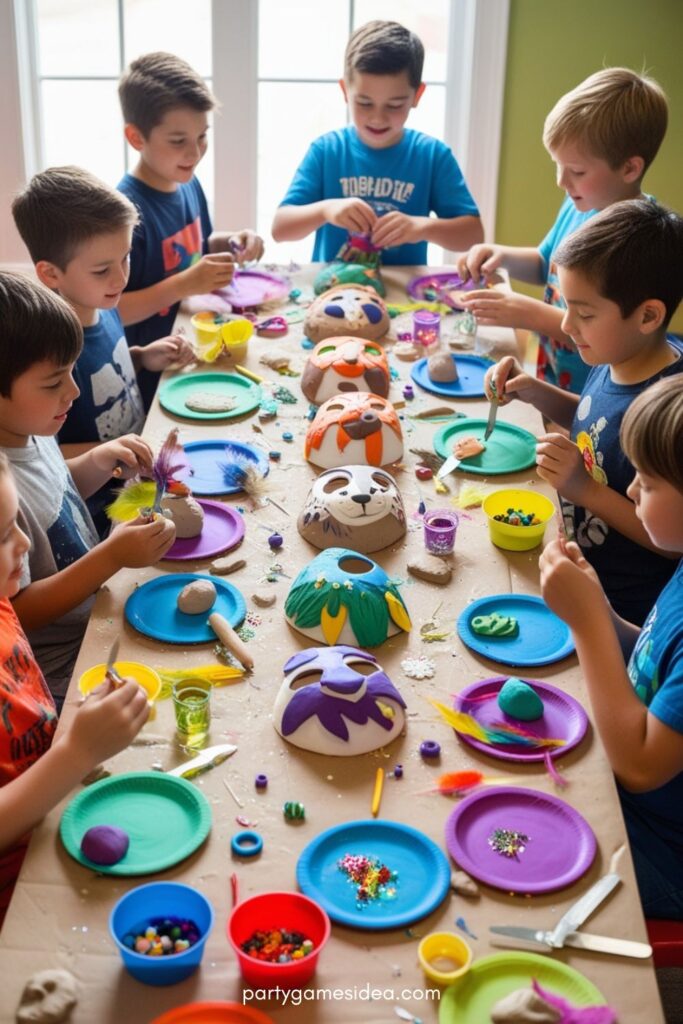
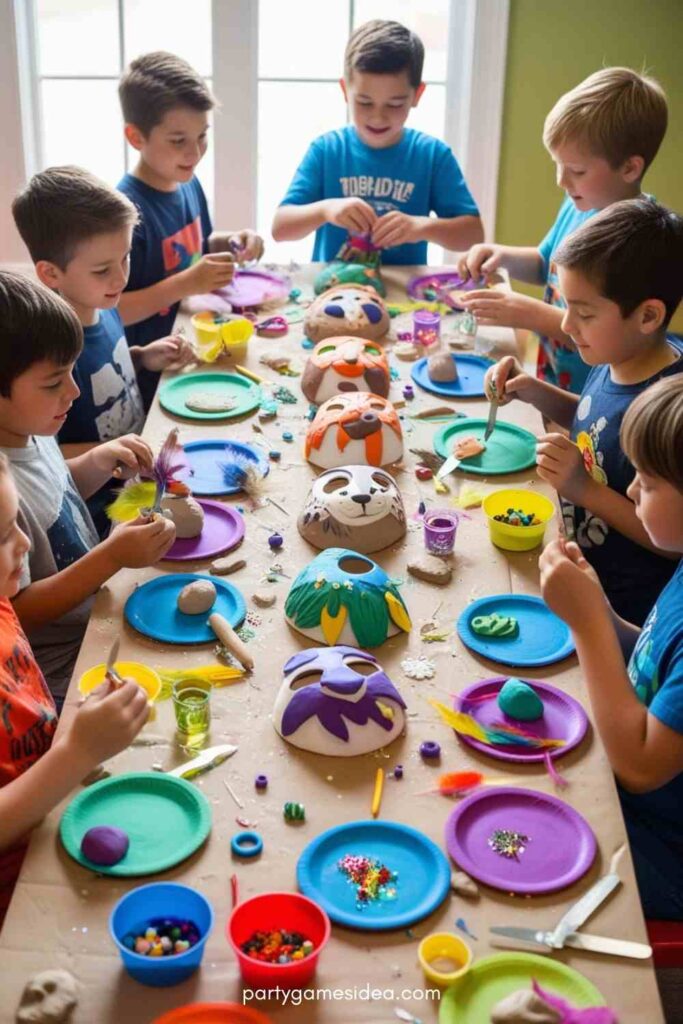
Clay Masks
Creating face masks is a fun way to express emotions and cultural themes while working with clay.
Steps:
- Shape the Base: Roll out a slab of clay and mold it into the shape of a face.
- Add Features: Roll small pieces of clay for eyes, nose, and mouth, and attach them to the base.
- Create Texture: Use tools to create texture on the mask’s surface, such as wrinkles or facial details.
- Dry and Decorate: Once dry, paint the mask with bright colors or add embellishments like beads or feathers.
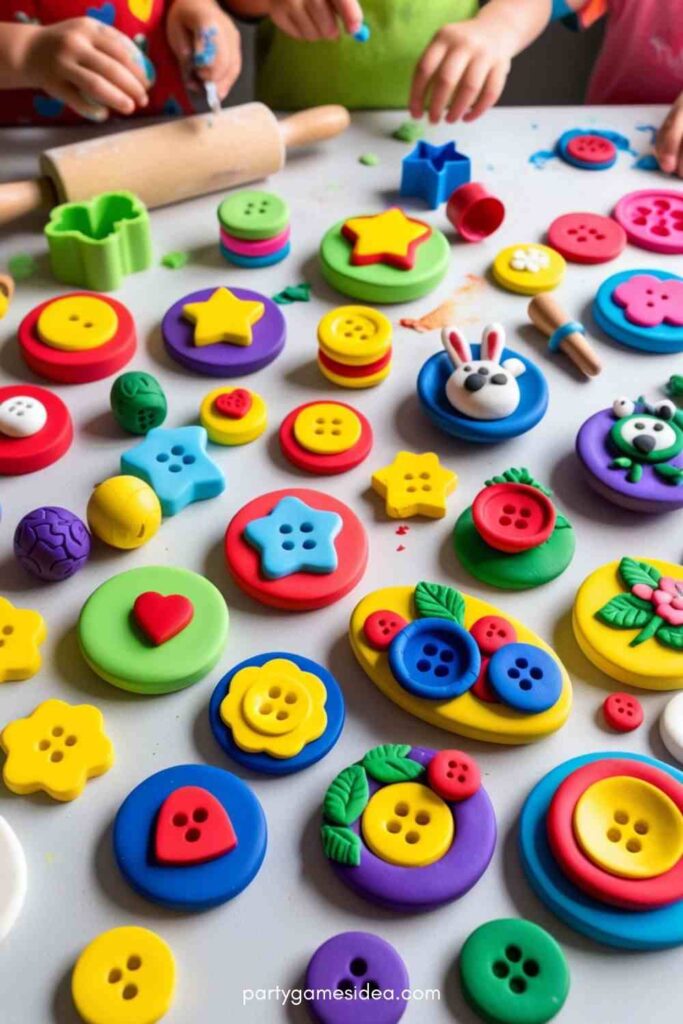
Clay Buttons
This easy and useful craft allows kids to create their own unique buttons, which can be used on clothing or as decorative items.
Steps:
- Roll the Clay: Roll small balls of clay into flat discs.
- Make Holes: Use a toothpick to make two or four holes in the center of each disc to create button holes.
- Shape and Smooth: Smooth the edges of the clay to make the buttons look neat and even.
- Dry and Paint: Allow the buttons to dry and then decorate with paints or glitter.
Clay Handprints on Plates
This craft involves making handprints in clay and turning them into a decorative plate for the home.
Steps:
- Roll the Clay: Roll a large slab of clay to fit the size of a plate.
- Press the Hand: Have the child press their hand gently into the clay to leave an imprint.
- Add Decorative Elements: Add small details like names, dates, or additional patterns around the handprint.
- Dry and Paint: Let the clay dry, then paint the plate with vibrant colors.
Clay Jewelry Dish
Create a small dish for jewelry or keepsakes using clay, which can serve both as a functional item and a creative craft.
Steps:
- Roll the Clay: Roll out a flat disc of clay large enough to form the base of the dish.
- Shape the Sides: Carefully press the edges of the disc upwards to form the sides of the dish.
- Smooth the Surface: Smooth the surface using your fingers or a tool to make it even.
- Decorate: Add patterns, textures, or small shapes on the surface of the dish.
- Dry and Paint: Once dry, paint the dish in a color that matches the decor.
Clay Stars and Moon Ornaments
This craft is perfect for children to create their own celestial-themed decorations.
Steps:
- Shape the Clay: Roll out the clay and cut out star and moon shapes using a cookie cutter or by hand.
- Create Details: Use a toothpick or small tool to add features like craters on the moon or patterns on the stars.
- Add a Hole: Use a straw or toothpick to create a hole at the top for hanging.
- Dry and Paint: Allow the pieces to dry, then paint them in glowing colors or glitter.
Clay Coasters
This simple craft project helps kids make functional items like coasters while also tapping into their artistic side.
Steps:
- Roll the Clay: Roll out a thick, flat slab of clay that’s large enough to make several coasters.
- Cut Out Shapes: Use a circular cutter or a knife to cut out round coaster shapes.
- Add Designs: Add decorative patterns using small tools or stamps.
- Dry and Paint: Once dry, paint the coasters with fun, bright designs.
Clay Fruits and Vegetables
Creating miniature clay fruits and vegetables is an excellent way for children to practice their sculpting skills.
Steps:
- Shape the Fruits: Roll small pieces of clay into balls and shape them into fruits like apples, grapes, or oranges.
- Create Stems and Leaves: Add small pieces for stems, leaves, or vines.
- Add Details: Use a toothpick to make details like dimples on an apple or lines on a carrot.
- Dry and Paint: Allow the clay to dry, then paint the fruits and vegetables to make them look realistic.
Clay Party Hats
This fun project lets kids create their own party hats using clay, adding a personal touch to any celebration.
Steps:
- Roll the Clay: Roll a piece of clay into a cone shape.
- Shape the Hat: Smooth the edges of the cone to create the party hat.
- Decorate: Add decorations such as pom-poms, stripes, or glitter to make the hat unique.
- Dry and Paint: Let the hat dry and then paint it in festive colors.
Clay Puppets
Making clay puppets is a great way for kids to create their own characters and bring them to life in imaginative stories.
Steps:
- Create the Body: Roll a piece of clay into an oval or cylindrical shape for the body.
- Add Features: Use small pieces to form the head, arms, and legs.
- Decorate: Use tiny pieces of clay for facial features like eyes, a mouth, and hair.
- Dry and Use: Let the puppet dry, and then use it for puppet shows.
Clay Pinch Pots
This simple craft teaches kids the ancient pottery technique of making pinch pots, creating small bowls to hold treasures.
Steps:
- Form the Base: Roll a ball of clay and press your thumb into the center.
- Pinch the Sides: Gently pinch the edges of the clay to create a bowl shape.
- Smooth the Pot: Smooth out the interior and edges using fingers or tools.
- Dry and Decorate: Let the pot dry, then decorate it with paints or patterns.
Clay Treasure Boxes
Creating treasure boxes out of clay is a wonderful way for kids to make personal keepsakes.
Steps:
- Shape the Box: Roll out a flat piece of clay and press it into a box shape.
- Create the Lid: Roll another piece of clay into a flat disc to form the lid.
- Decorate the Box: Add textures or patterns to the surface of the box.
- Dry and Paint: Once dry, paint the treasure box and add gems or rhinestones for decoration.
How to Care for and Store Clay Crafts?
Caring for and storing Clay Crafts For Kids is essential to ensure that your creations last and stay in great condition. Proper handling during the crafting process, as well as the right storage techniques, can preserve your artwork and keep it looking fresh. Whether you’re working with air-dry clay, modeling clay, or polymer clay, here’s a guide to help you care for your Clay Crafts For Kids.
Proper Drying and Curing Techniques for Different Types of Clay
- Air-Dry Clay: Allow your project to air dry naturally at room temperature. This can take anywhere from 24 to 72 hours depending on the size of the craft. Make sure to place your piece on a flat surface and avoid stacking until fully dry to prevent warping.
- Modeling Clay: Most modeling clay types do not need to be cured, as they remain soft and pliable. However, if you need to harden it for a permanent project, bake it according to the instructions (usually at low heat for 15–30 minutes). Be sure to follow the manufacturer’s guidelines for temperature to avoid burning.
- Polymer Clay: Polymer clay must be baked to set. Preheat your oven to the recommended temperature (usually between 265°F–275°F or 130°C–135°C) and bake for 15–30 minutes, depending on the thickness of the project. Use a baking sheet lined with parchment paper, and allow the pieces to cool completely after baking.
Storage Solutions for Unfinished Clay Projects
- Keep Clay Covered: When working on unfinished clay projects, ensure that the clay does not dry out. Store unused portions of clay in airtight containers or resealable plastic bags. You can also wrap the clay in a damp cloth before placing it in the container to maintain its moisture.
- Protect In-Progress Projects: If you need to pause work on your clay project, cover it with plastic wrap or a damp cloth to prevent it from drying out. For air-dry clay projects, keep them in a sealed plastic bag or container to retain moisture.
- Store in a Cool, Dry Place: Store unfinished clay projects in a cool, dry place away from direct sunlight or extreme heat, which could cause the clay to soften or crack.
Preserving Finished Pieces
- Sealing Finished Projects: Once your clay craft is dry or baked, consider sealing it with a protective coating to enhance its durability and appearance. Use a clear acrylic sealer for air-dry clay and polymer clay projects to prevent fading and damage.
- Proper Display or Storage: Display your finished clay projects in a safe location, away from high-traffic areas where they could be knocked over or damaged. For storage, place fragile pieces in padded boxes or protective cases.
- Avoid Extreme Conditions: Keep your clay creations away from moisture, humidity, and excessive heat. If storing for long periods, consider placing them in a display case or a shelf with minimal exposure to dust and dirt.
FAQ
What types of clay are best for Clay Crafts For Kids?
The best types of clay for kids include air-dry clay, modeling clay, and polymer clay. Air-dry clay is easy to use and doesn’t require baking, making it ideal for younger children. Modeling clay is soft and easy to shape but doesn’t harden, while polymer clay needs baking to set and can be used for more detailed projects.
Can kids use polymer clay safely?
Yes, polymer Clay Crafts For Kids is safe for kids when used according to the manufacturer’s instructions. It should be baked at the recommended temperature in an oven, not a microwave, and it should always be handled by an adult during baking to prevent burns or accidental injury.
How can I prevent air-dry clay from cracking?
To prevent air-dry clay from cracking, ensure the clay is applied in even layers, avoid thick areas, and allow the project to dry slowly. You can also wrap your unfinished clay in a damp cloth or store it in an airtight container when taking breaks from crafting.
How long does it take for Clay Crafts For Kids to dry?
Air-dry clay typically takes 24 to 72 hours to fully dry, depending on the size and thickness of the piece. For polymer clay, it must be baked according to the instructions, usually for about 15 to 30 minutes. Modeling clay remains soft and does not need to dry unless you are baking it to harden.
Can I paint my Clay Crafts For Kids?
Yes, once your clay projects are dry or baked, you can paint them with acrylic paints. Be sure to apply a clear sealer afterward to protect the paint and keep your creations looking fresh.


