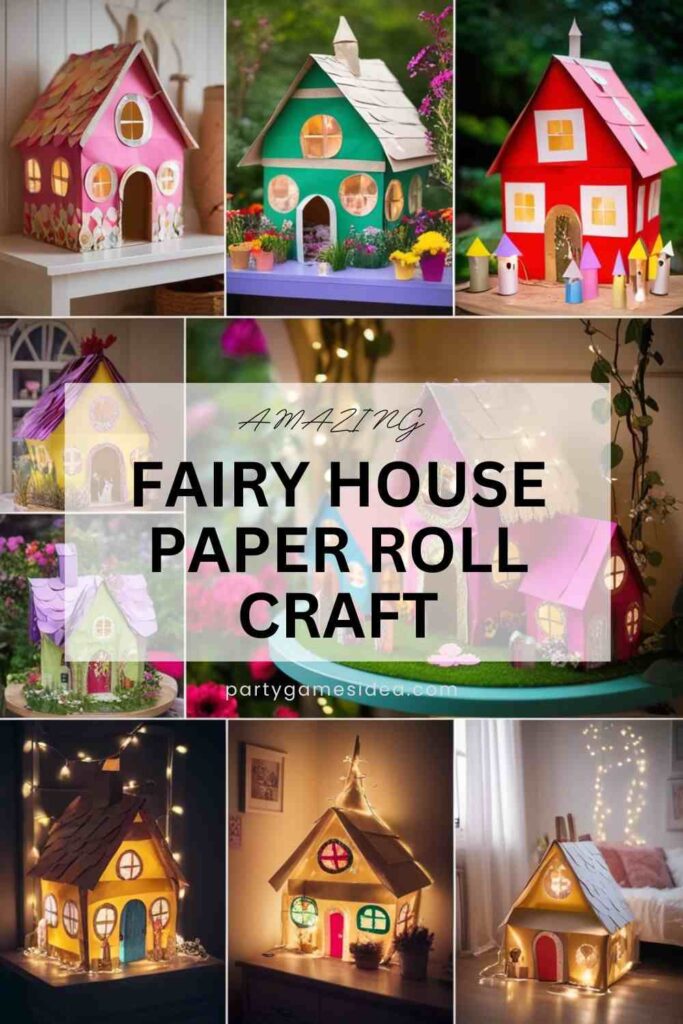
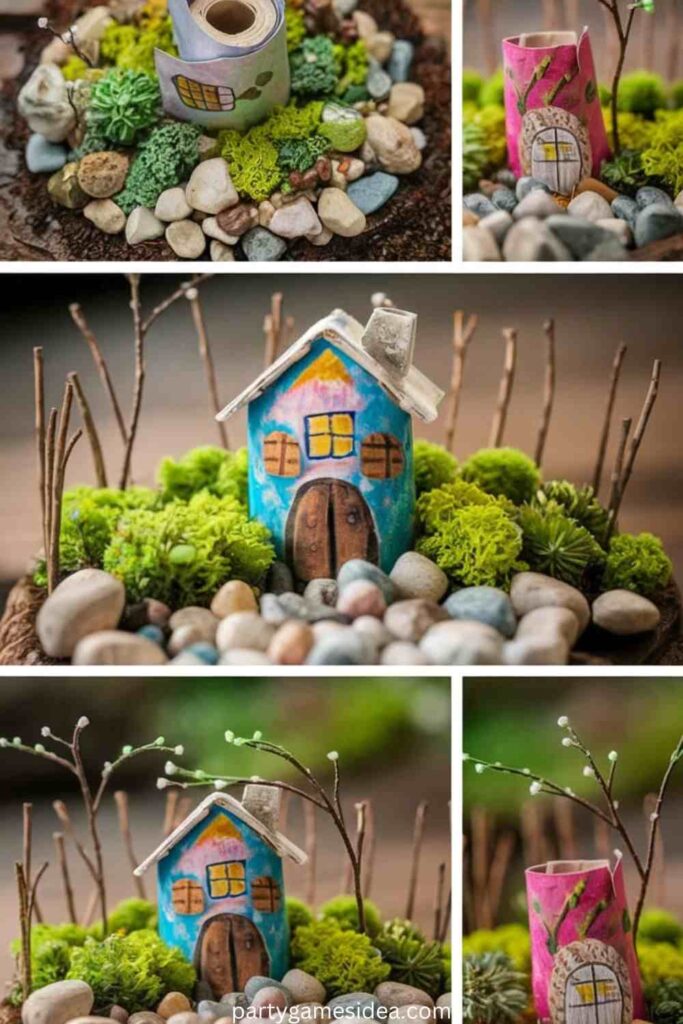
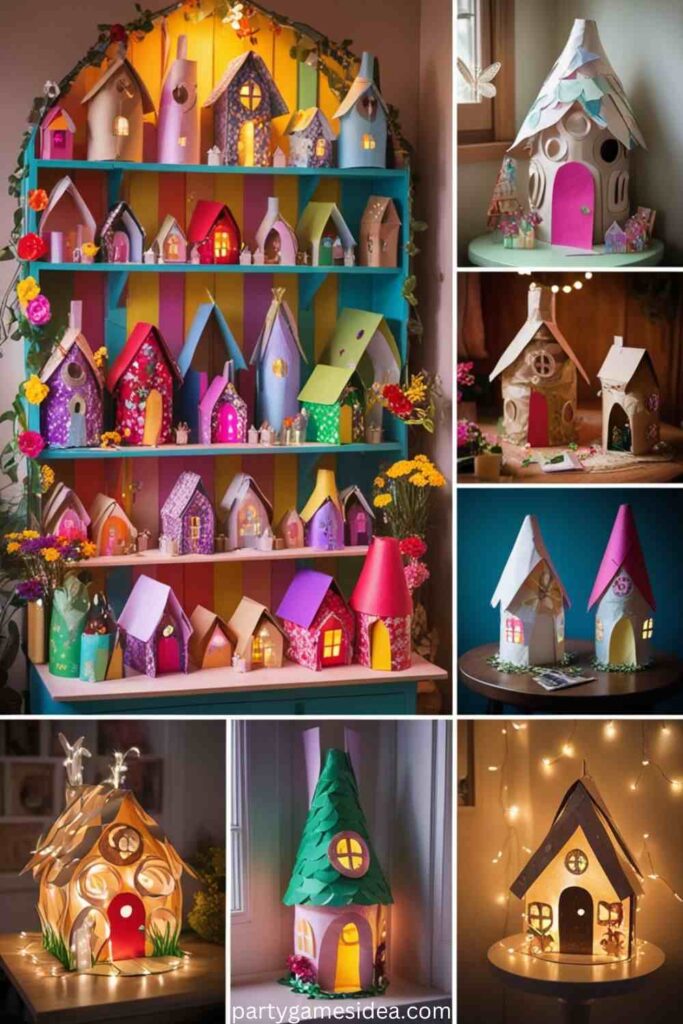
The Fairy House Paper Roll Craft is a delightful activity that transforms simple, everyday paper rolls into enchanting miniature fairy houses. Using a few basic materials like paint, construction paper, and glue, kids can let their imaginations run wild as they create their own magical worlds. This craft offers a fun and creative way to repurpose paper rolls, turning them into vibrant fairy homes adorned with tiny doors, windows, and whimsical decorations. It’s perfect for children who love fantasy, art, and crafting, and it provides hours of fun as they design their own unique fairy village.
This craft is not only enjoyable but also promotes eco-friendly habits by encouraging the reuse of recyclable materials. Kids develop essential skills like creativity and fine motor coordination while exploring their ideas. It’s an easy project for all ages, though it’s especially well-suited for young children aged 4 and up. Perfect for both classroom settings and home craft time, the Fairy House Paper Roll Craft works well as a group activity where each child can add their unique touch to the fairy village. With a bit of imagination and a few household supplies, kids can create magical homes worthy of any fairy tale!
Steps To Make Fairy House Paper Roll Craft
Creating a Fairy House Paper Roll Craft is a fun and imaginative project that transforms simple paper rolls into charming miniature homes. With just a few basic materials, kids can let their creativity shine while crafting their very own magical fairy village!
Step 1: Prepare the Paper Roll Base
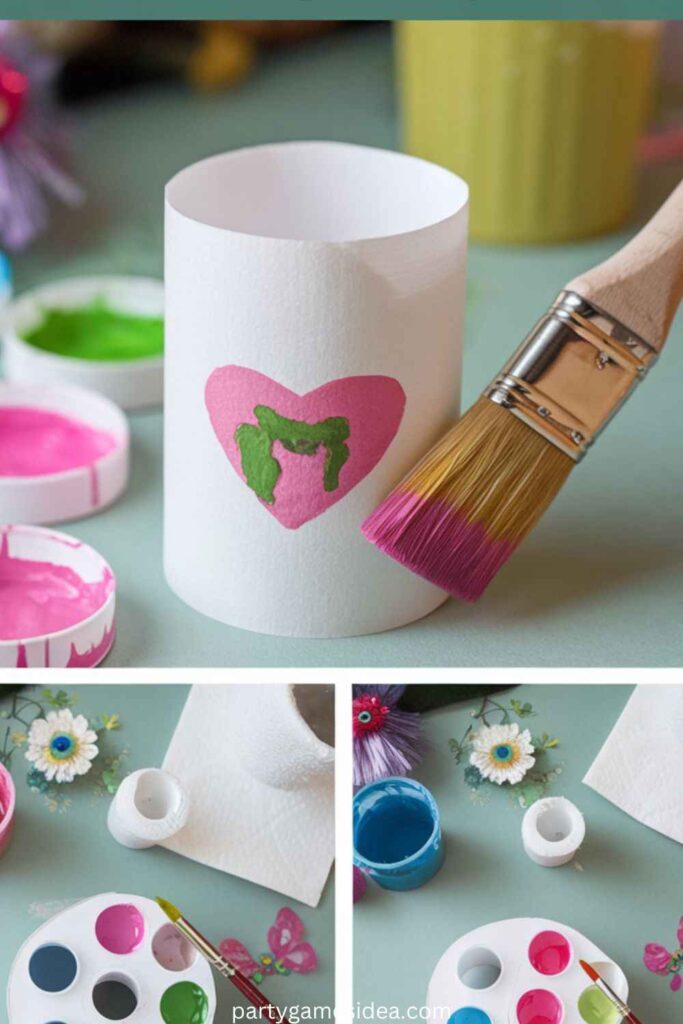
To start, gather your empty paper roll and cover it with a base layer of paint, which will serve as the “walls” of your fairy house. Let it dry before moving on.
Materials Used:
- Empty paper roll
- Paint (any color)
- Paintbrush
Step 2: Design the Door and Windows
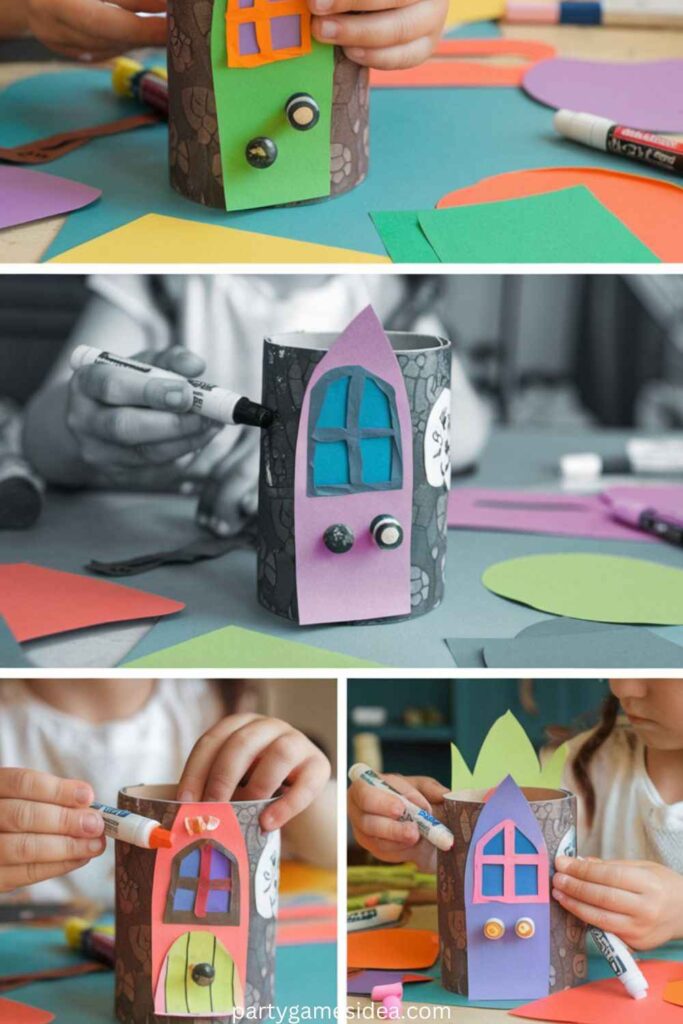
Cut out shapes for doors and windows from construction paper. Customize by drawing details like doorknobs or windowpanes before gluing them onto the roll.
Materials Used:
- Construction paper (various colors)
- Scissors
- Markers
- Glue
Step 3: Create the Roof
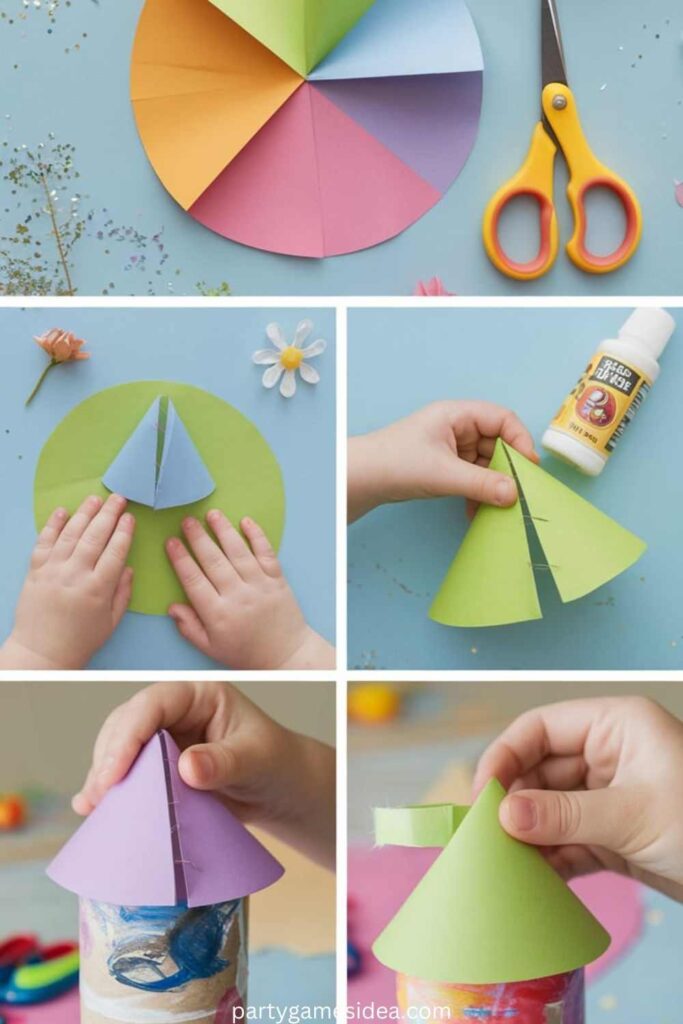
Cut a circle from construction paper, make a small slit, and form it into a cone. Secure the cone shape with glue, then attach it to the top of the paper roll as the roof.
Materials Used:
- Construction paper (roof color)
- Scissors
- Glue
Step 4: Add Decorations and Details
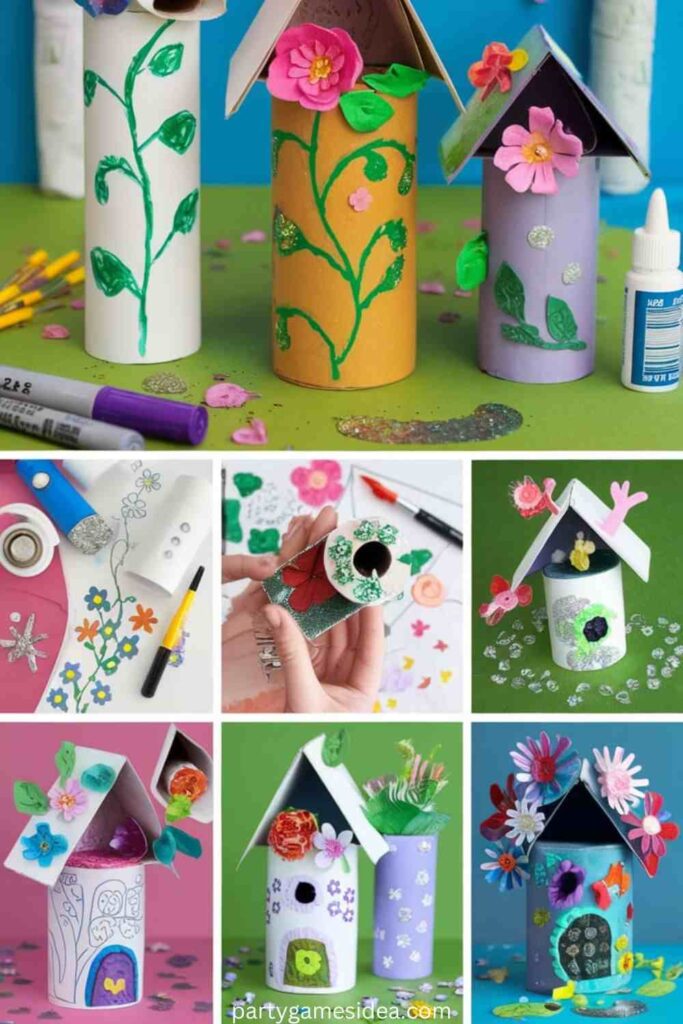
Decorate the fairy house with additional details like vines, flowers, or glitter. Draw on the paper roll or glue small embellishments to add charm and character.
Materials Used:
- Markers or paint for details
- Small faux flowers or leaves
- Glitter (optional)
- Glue
Step 5: Create the Fairy Garden (Optional)
To make the fairy house even more magical, add a “garden” using pebbles, moss, or small twigs around the base of the house for an enchanted look.
Materials Used:
- Pebbles or small rocks
- Moss or faux greenery
- Small twigs
Step 6: Display Your Fairy House
Once everything is dry, display your fairy house! Create a little fairy village by making several houses, or use it as a cute decoration in a garden or bedroom.
Materials Used:
- Completed fairy house
- Display area (e.g., shelf, garden, or room corner)
Supplies Needed for Fairy House Paper Roll Craft
To create your enchanting Fairy House Paper Roll Craft and the magical fairy garden, gather the following supplies:
- Empty Paper Rolls: Use toilet paper or paper towel rolls as the base for your fairy house.
- Paint: Choose vibrant colors to decorate the exterior of your fairy house.
- Paintbrush: For applying paint evenly to the paper roll.
- Construction Paper: Various colors for crafting doors, windows, and roofs.
- Scissors: Safety scissors for kids to cut out shapes.
- Glue: To attach various elements together.
- Markers: For adding details to the fairy house and decorations.
- Pebbles or Small Rocks: To create a charming garden path or landscape.
- Moss or Faux Greenery: To give a lush, magical feel to the garden.
- Small Twigs: For decorative elements like fences or pathways around the fairy house.
- Optional Decorations: Glitter, mini faux flowers, or stickers for extra embellishments.
Gathering these supplies will set you up for a fun and creative crafting experience, transforming simple materials into a magical fairy world!
Tips for Variation
Once you’ve crafted your delightful Fairy House Paper Roll Craft, consider these tips for adding unique variations that can enhance your project and spark even more creativity. These ideas allow for personal expression, seasonal flair, and eco-friendly practices, making your fairy house even more special!
- Add a Fairy Garden: Use small pebbles, twigs, and moss to create a tiny garden around the house. Arrange the pebbles in creative patterns and use the twigs to form pathways or fences, bringing a magical landscape to life.
- Seasonal Themes: Adjust the colors and decorations of your fairy house to reflect different holidays or seasons. For example, use pastel colors and floral decorations for spring, or rich reds and greens with tiny ornaments for winter festivities.
- Use Recycled Materials: Incorporate other recyclable materials like bottle caps, fabric scraps, or cardboard pieces for additional decoration. Bottle caps can become whimsical stepping stones, while fabric can be used to create tiny banners or flags for your fairy house.
These variations not only enhance the aesthetic of your fairy house but also encourage imaginative play and sustainability, making each project a unique expression of creativity!
Learning and Creative Benefits
Engaging in the Fairy House Paper Roll Craft offers numerous learning and creative benefits that extend beyond mere crafting. This delightful activity fosters essential skills and encourages imaginative exploration in a fun and interactive way.
- Develops Fine Motor Skills: As children paint, cut, and glue different elements of their fairy houses, they enhance their fine motor skills. These activities require precision and control, helping to strengthen hand-eye coordination and dexterity, which are crucial for many everyday tasks.
- Encourages Imaginative Play and Storytelling: The whimsical nature of the fairy houses invites children to engage in imaginative play. Once the houses are complete, kids can create their own fairy tales, role-playing scenarios that spark their creativity and narrative skills. This storytelling aspect fosters language development and social skills as they share their stories with others.
- Promotes Eco-Friendly Crafting: By reusing common household items like paper rolls, this craft teaches children about sustainability and the importance of recycling. It encourages them to think creatively about materials and shows that beautiful art can come from everyday objects, instilling a sense of environmental awareness from a young age.
Overall, the Fairy House Paper Roll Craft not only nurtures artistic expression but also supports critical developmental skills, making it a valuable activity for children.
FAQ
What age group is the Fairy House Paper Roll Craft suitable for?
This craft is suitable for children aged 4 and up. Younger children may need assistance with cutting and using glue, while older kids can handle the project more independently.
What materials do I need to make a fairy house?
You will need empty paper rolls, paint, paintbrushes, construction paper, scissors, glue, markers, pebbles or small rocks, moss or faux greenery, and small twigs. Optional materials include glitter and mini faux flowers for decoration.
How long does it take to complete the craft?
The crafting process usually takes about 1 to 2 hours, depending on the complexity of the design and drying times for paint and glue.
Can I make this craft using recycled materials?
Yes! This craft is perfect for recycling. You can incorporate items like bottle caps, fabric scraps, or cardboard pieces to add unique decorations to your fairy house.
How can I customize my fairy house?
You can customize your fairy house by changing the paint colors, adding seasonal decorations, or creating a fairy garden with different materials. Let your imagination guide you!

Hi, I’m Hailey Say, the proud mom and owner of PartyGamesIdea.com. As a dedicated party designer and an expert in party ideas, I have a deep passion for crafting memorable and enjoyable experiences for every occasion. From holiday games to baby showers, bridal showers, bachelor parties, group gatherings, and more, I specialize in creating unique and fun party ideas that cater to all age groups and interests.
With an extensive collection of ideas ranging from printable games, teen and adult games, kids’ party activities, birthday party games, girls’ games, memory games, family games, and outdoor games, I aim to make every event special. My expertise also extends to themed parties such as dinner parties, brunch parties, graduation celebrations, college parties, and fun night games.
On PartyGamesIdea.com, I share my passion and creativity, helping people turn their party visions into reality. With years of experience and a keen eye for detail, I am committed to making your event planning process enjoyable and stress-free. Join me on PartyGamesIdea.com, and together, we’ll create unforgettable memories for you and your loved ones.

