
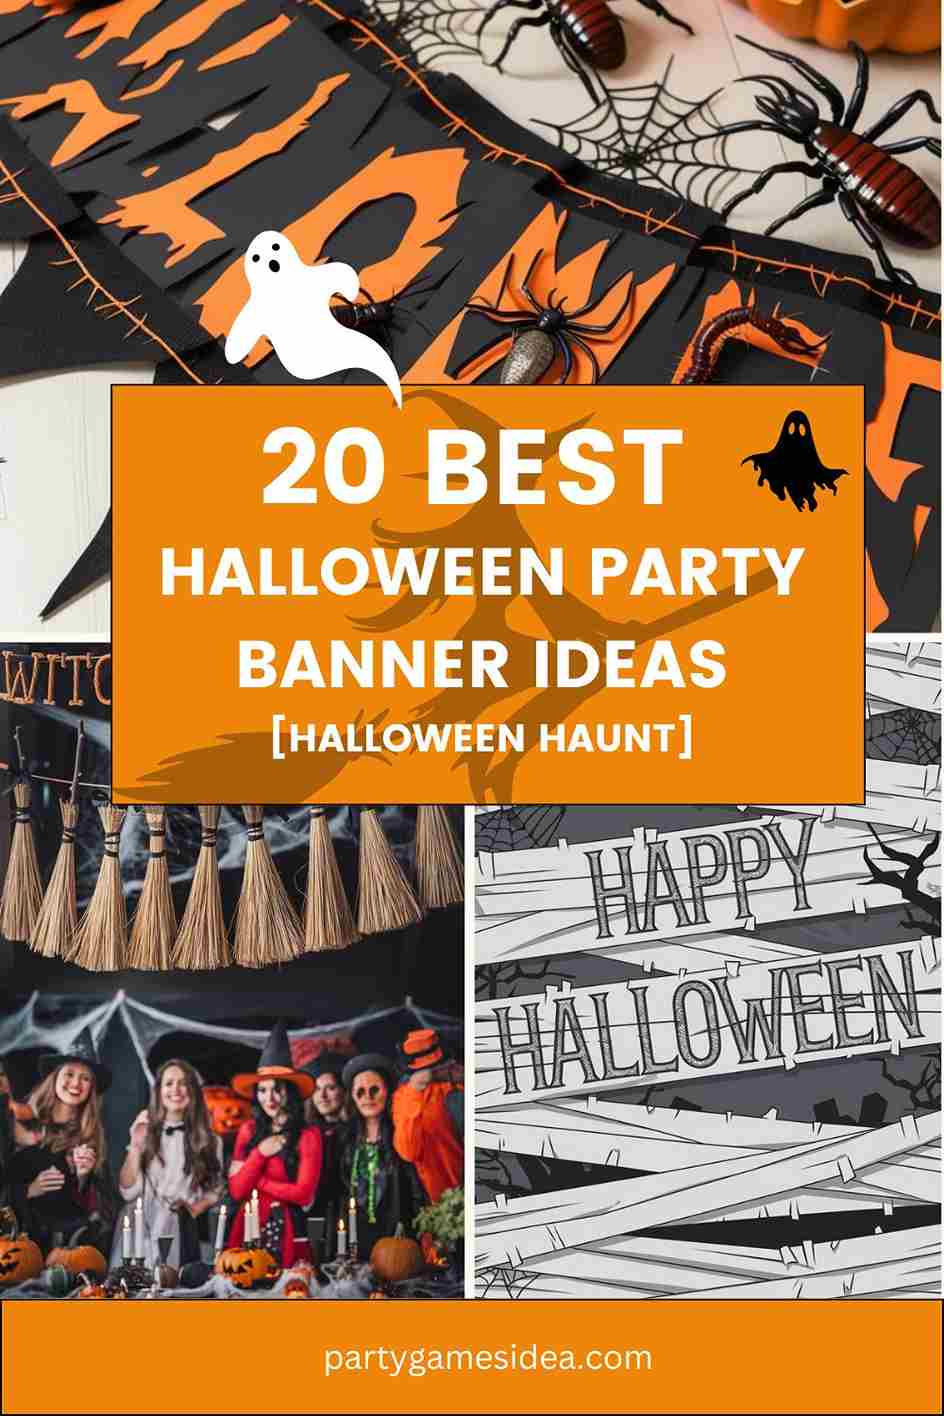
When it comes to throwing a memorable Halloween party, one of the key elements to consider is how to set the mood and theme effectively. Halloween Party Banner Ideas play a crucial role in transforming your space into a spooky, festive environment. Banners not only serve as eye-catching decorations but also help convey the spirit of the occasion to your guests right from the moment they arrive.
Creative banners can enhance the atmosphere, whether you’re going for a haunted house vibe, a whimsical pumpkin patch, or a ghostly graveyard. They can be used to greet guests, highlight specific areas of your party, or simply add to the overall aesthetic. By incorporating thematic colors, playful phrases, and engaging designs, you can create a welcoming ambiance that captures the essence of Halloween. From DIY projects to unique store-bought options, the right banners can elevate your celebration and ensure a spooktacular experience for everyone involved.
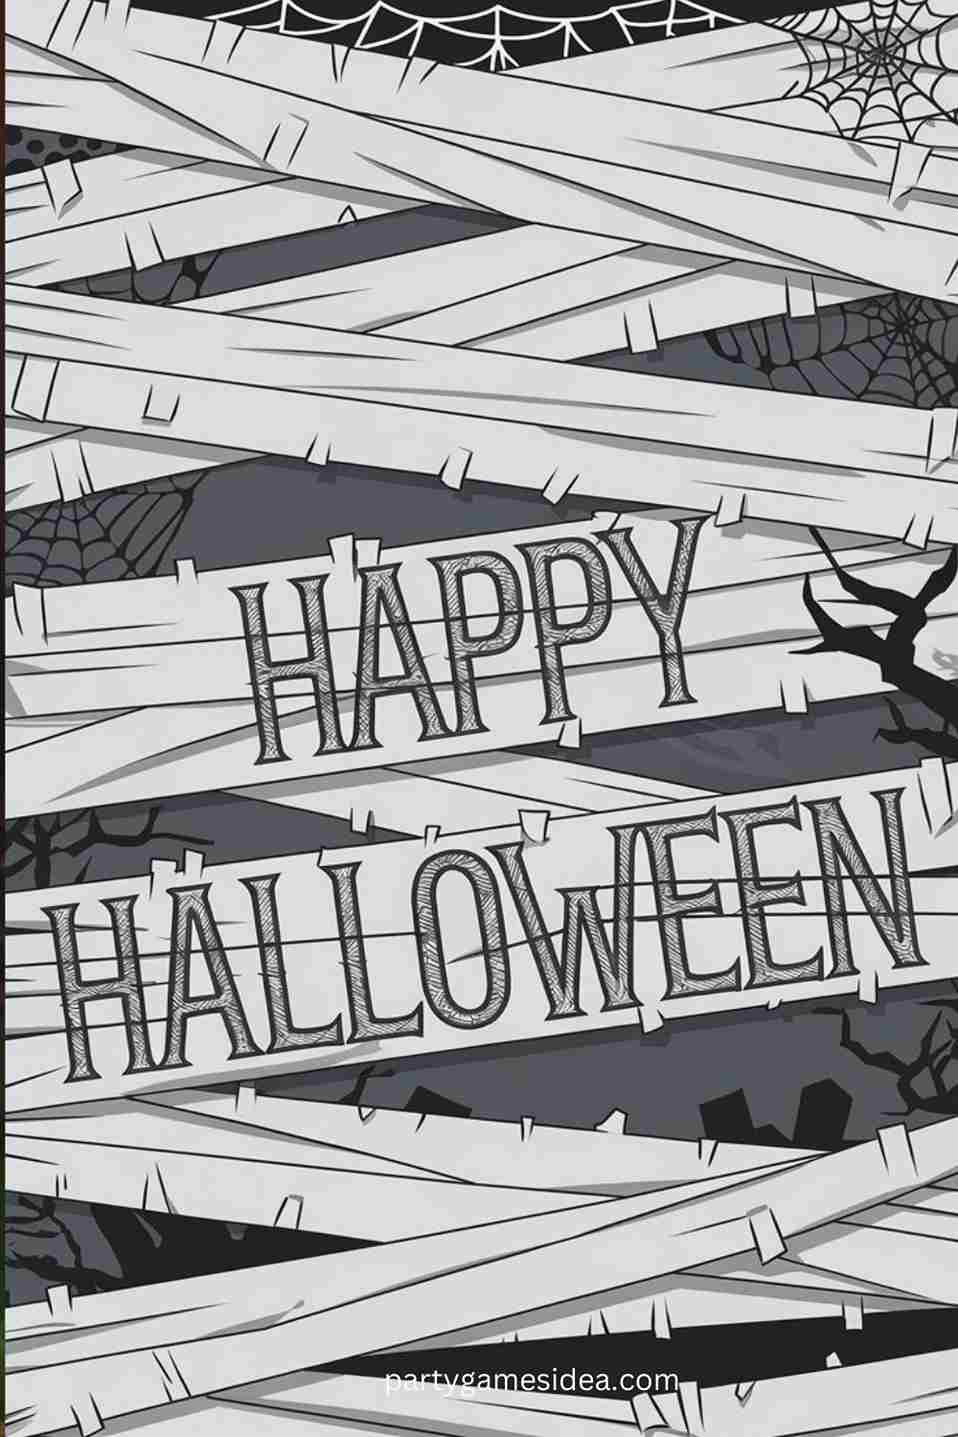
Halloween Party Banner Ideas
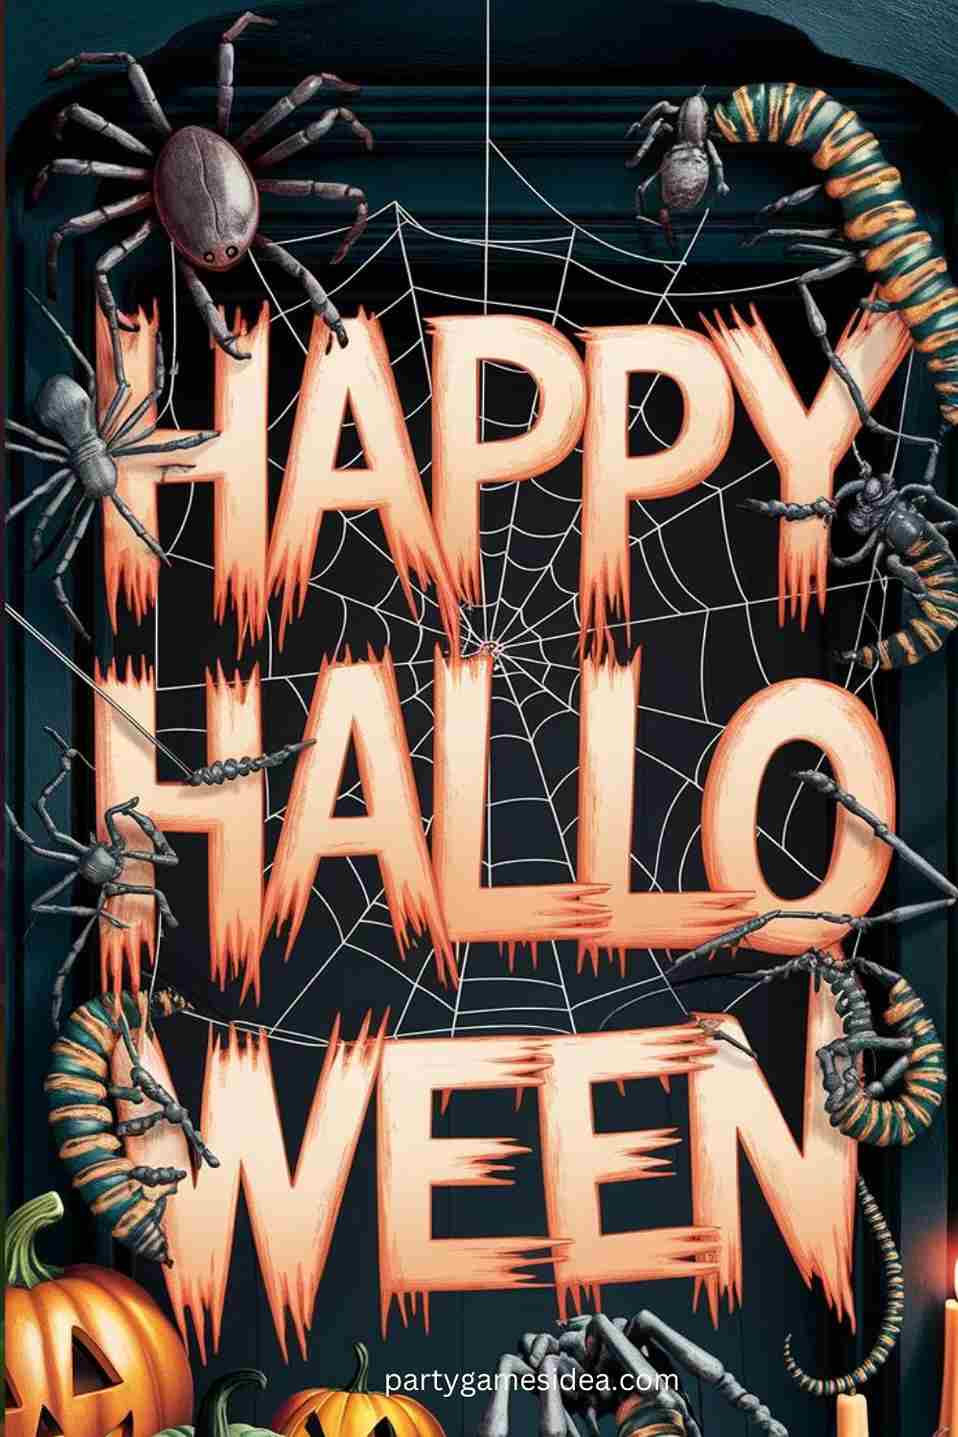
Halloween parties are all about creating an enchanting atmosphere filled with spooky fun and creativity. Banners can help set the tone and theme for your celebration, guiding guests into a world of ghouls, goblins, and festive delight. Here are 20 Halloween party banner ideas to inspire your decorations!
Spooky Welcome Banner
A “Welcome to Our Haunted House” banner sets the perfect eerie tone right from the entrance.
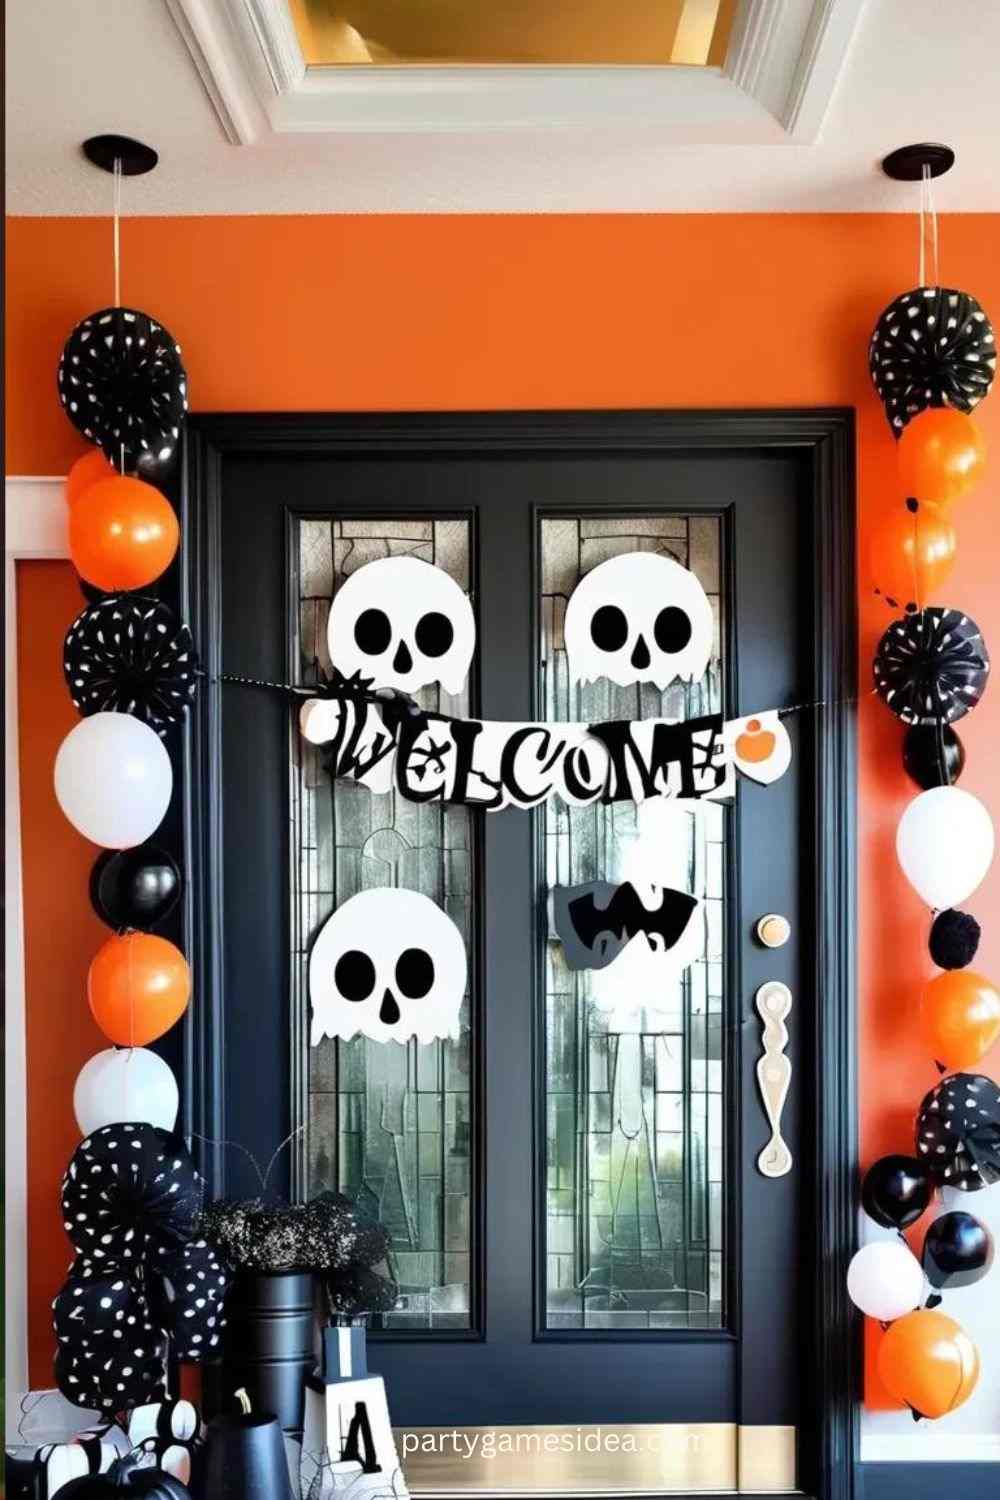
- Setup: Hang at the entrance or above the food table.
- Tips: Use glow-in-the-dark letters for added effect.
- Materials: Black fabric or paper, white paint or glow-in-the-dark markers.
Pumpkin Patch Sign
Create a cheerful banner featuring pumpkins to balance the spooky elements.
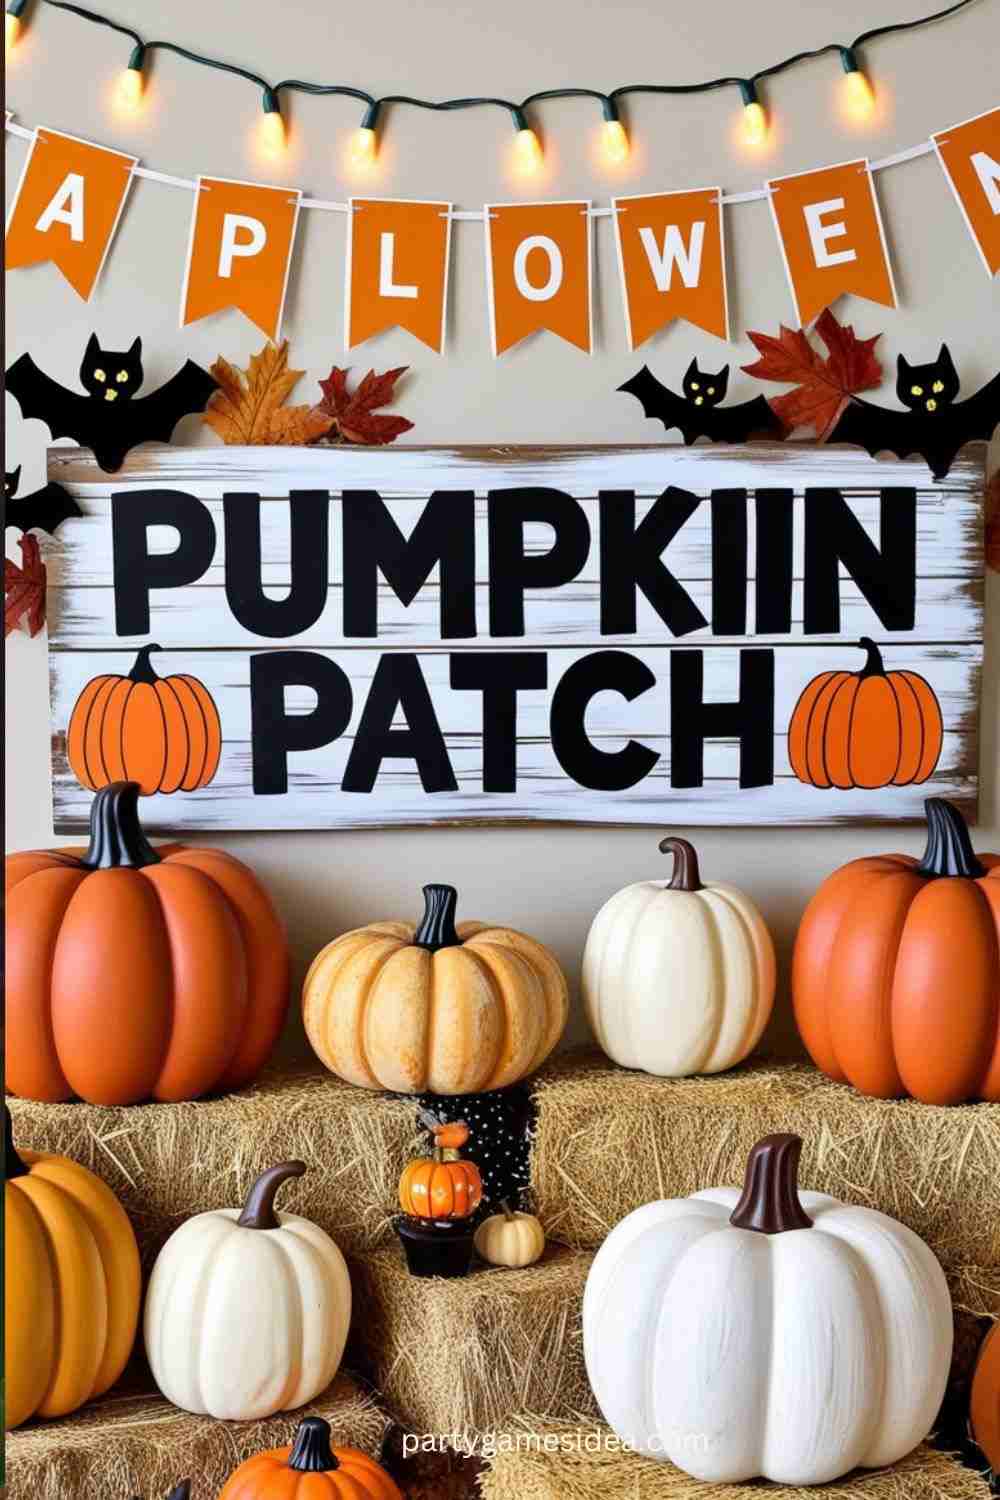
- Setup: Display in a central area or near a photo booth.
- Tips: Incorporate actual mini pumpkins for a 3D effect.
- Materials: Orange and green paper, markers, twine.
Boo! Banner
A simple yet effective “Boo!” banner adds a playful touch to your decor.
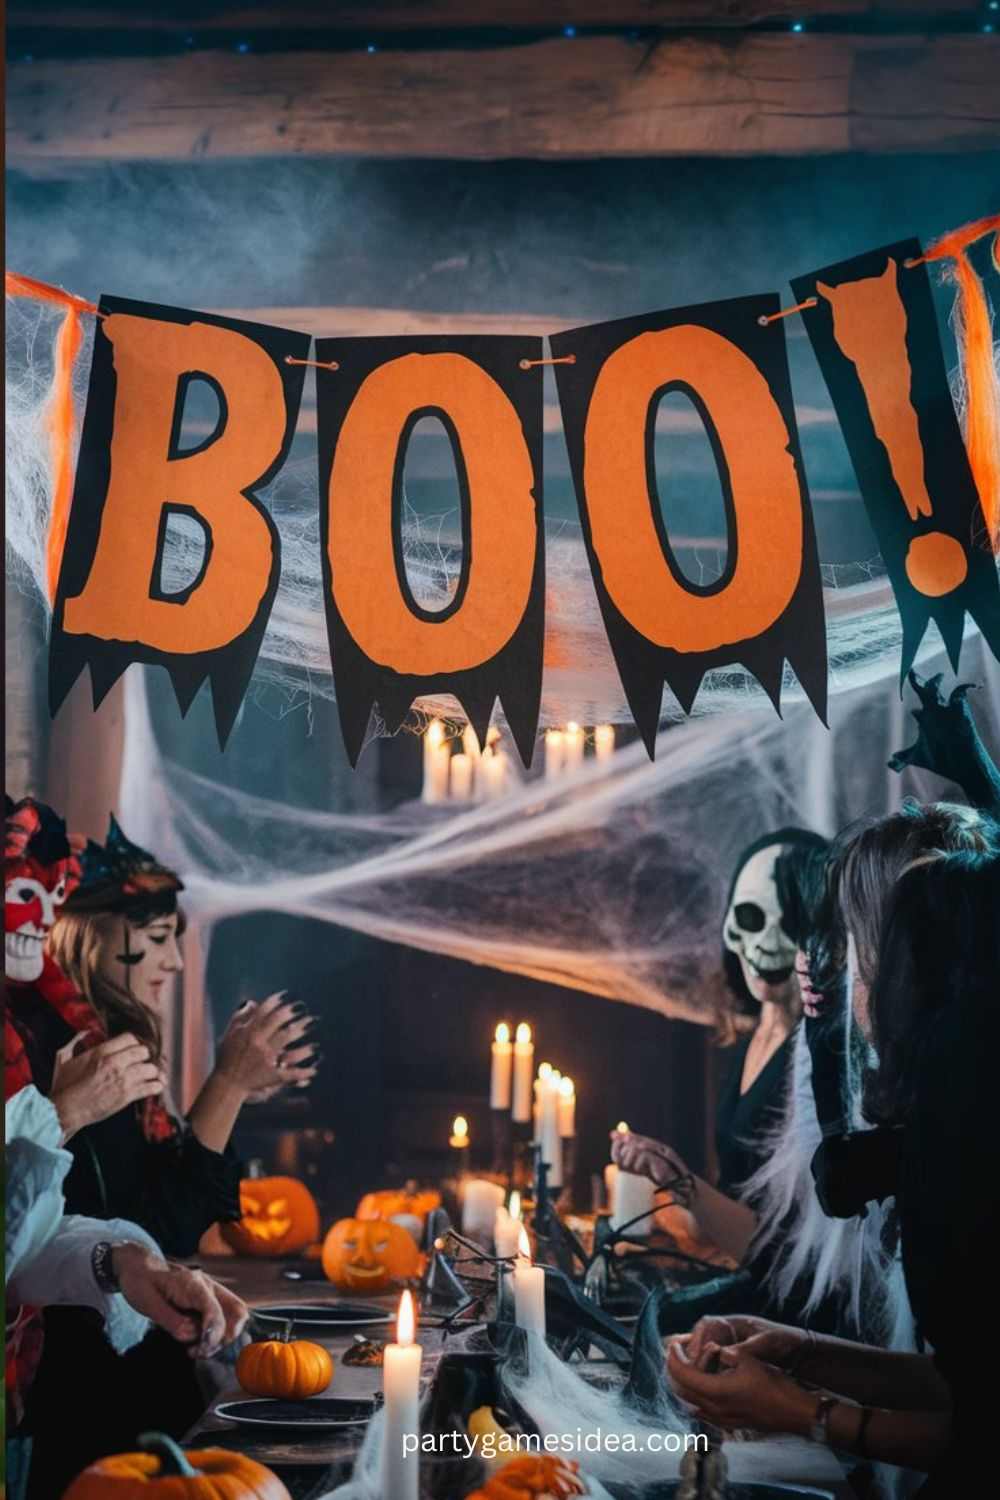
- Setup: Drape it across a mantel or wall.
- Tips: Mix up fonts for a whimsical look.
- Materials: Cardstock, string, scissors.
Witch’s Broomstick Banner
Craft a banner with broomsticks and witch hats to enhance your witchy theme.
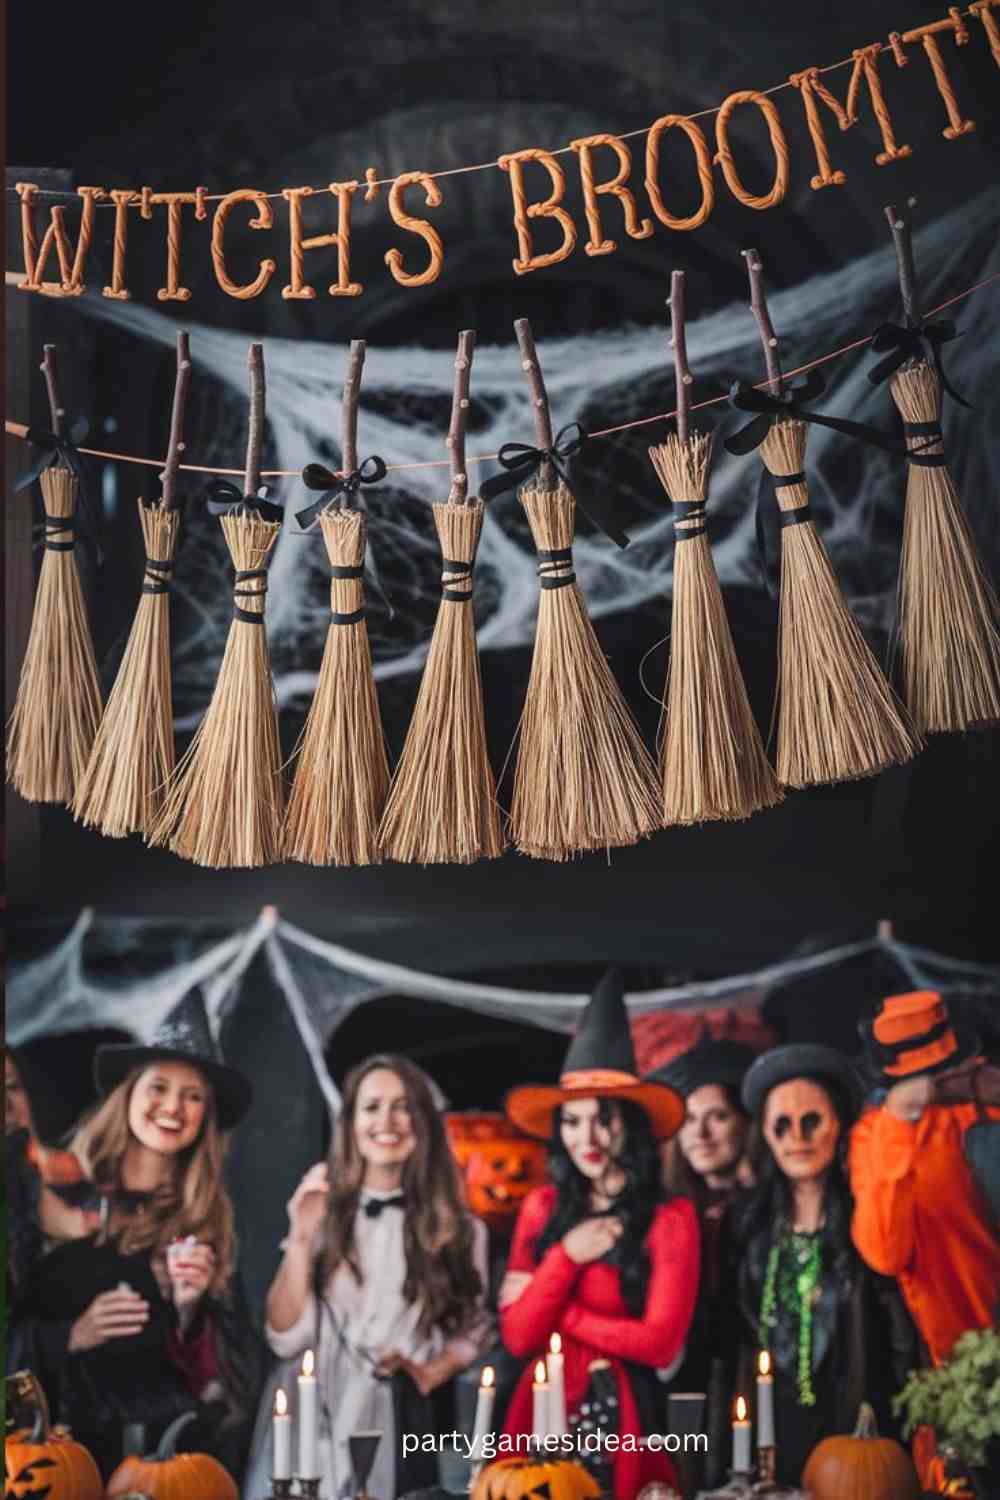
- Setup: Hang above the snack table or entryway.
- Tips: Use glitter to make the broomsticks stand out.
- Materials: Brown paper, black felt, glitter.
Haunted House Silhouette Banner
Create a spooky silhouette of a haunted house that captures attention.

- Setup: Position it against a light source for a shadow effect.
- Tips: Use a backlight to enhance the silhouette.
- Materials: Black cardboard, string, scissors.
Ghostly Greetings Banner
A banner featuring friendly ghosts can lighten the mood and add charm.
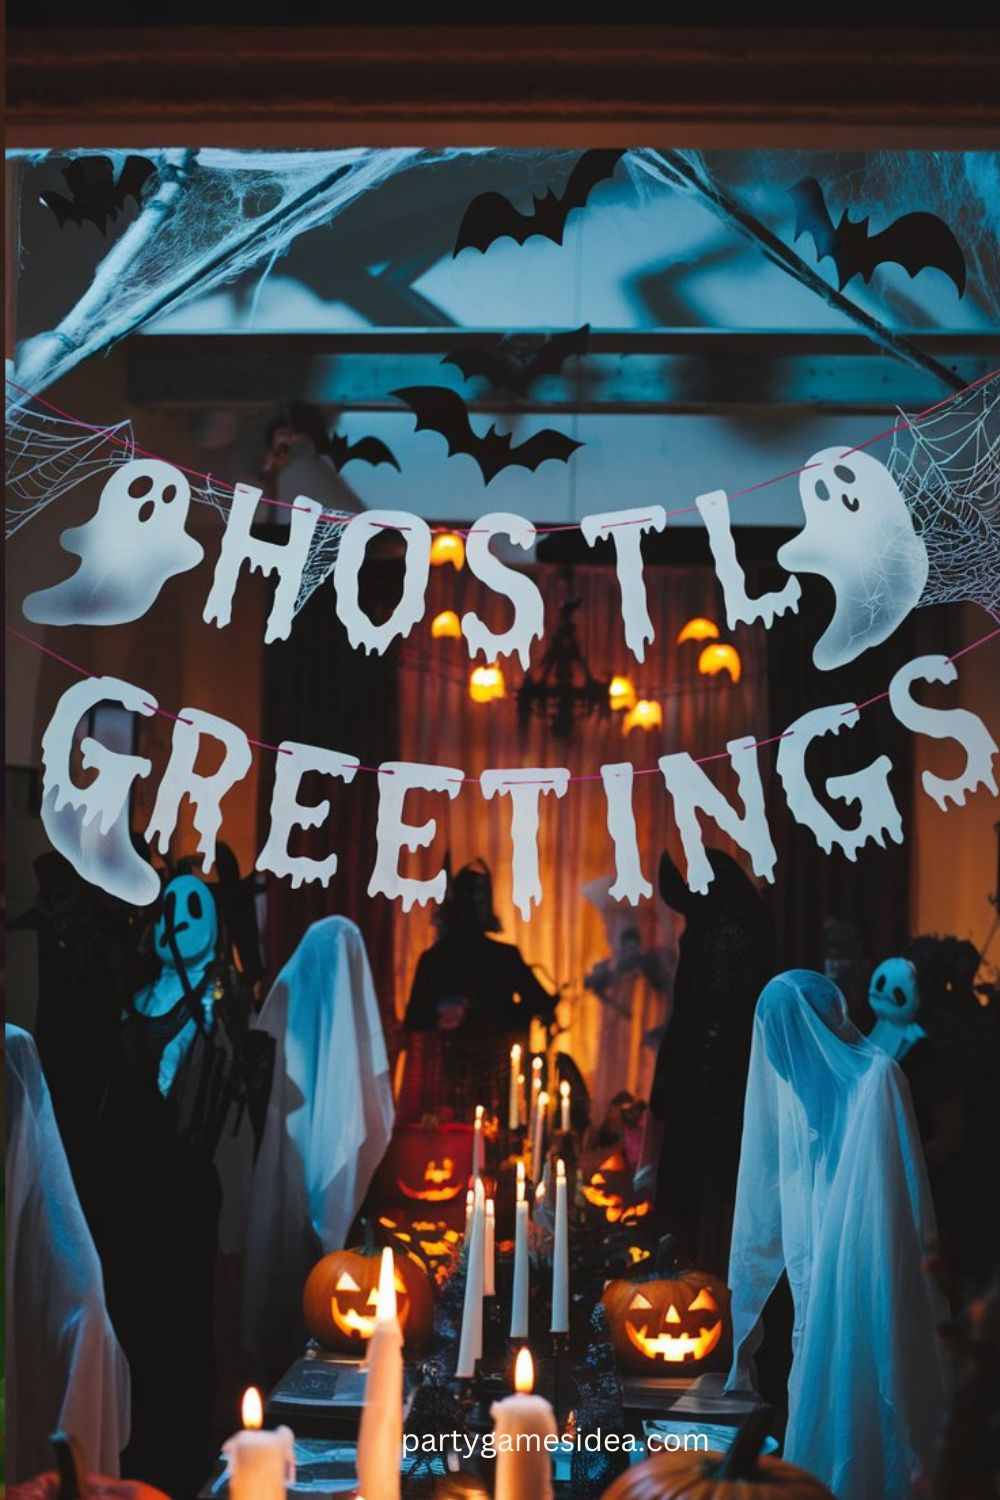
- Setup: Hang it across the main gathering area.
- Tips: Add LED lights behind the ghosts for a glowing effect.
- Materials: White fabric or paper, LED lights, markers.
Creepy Crawly Banner
Incorporate spiders and webs into your banner for an eerie touch.
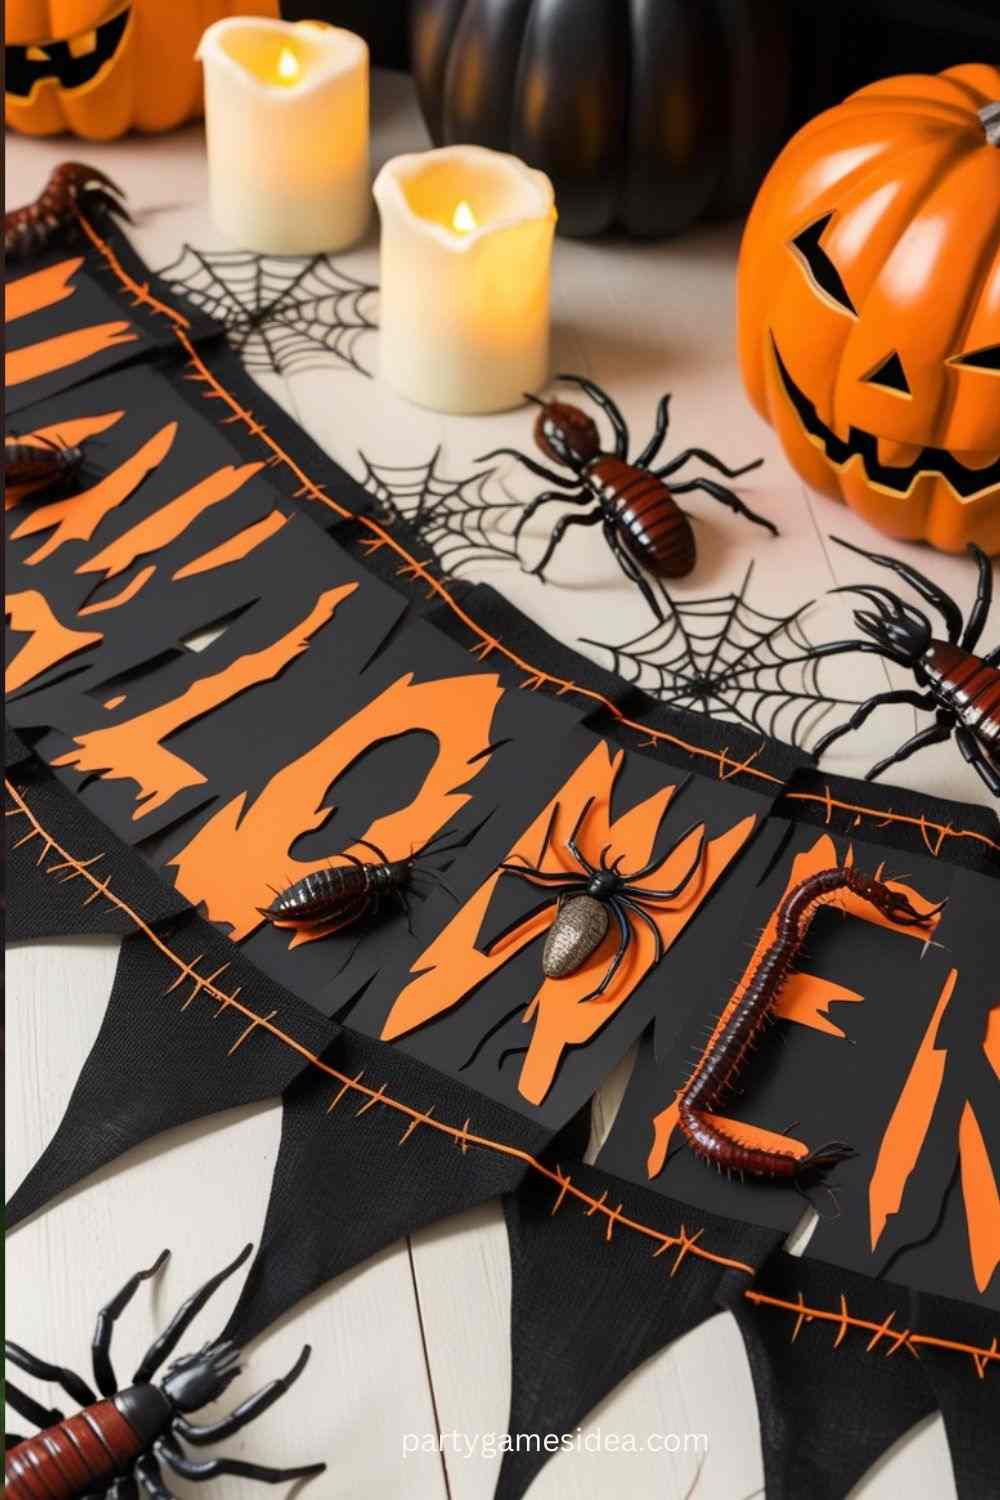
- Setup: Display it in corners or along walls.
- Tips: Use real or fake cobwebs for an authentic look.
- Materials: Black paper, spider cutouts, string.
Cauldron of Fun Banner
A colorful banner depicting bubbling cauldrons can enhance the potion-making theme.
- Setup: Place above the drink station.
- Tips: Use vibrant colors to draw attention.
- Materials: Green and black paper, paint, scissors.
Mummy Wrap Banner
Create a banner that resembles a wrapped mummy, adding a fun twist.
- Setup: Hang across a doorway or window.
- Tips: Use gauze for a textured effect.
- Materials: White gauze, black paper eyes.
Trick or Treat Banner
A classic phrase like “Trick or Treat” can bring nostalgic vibes.
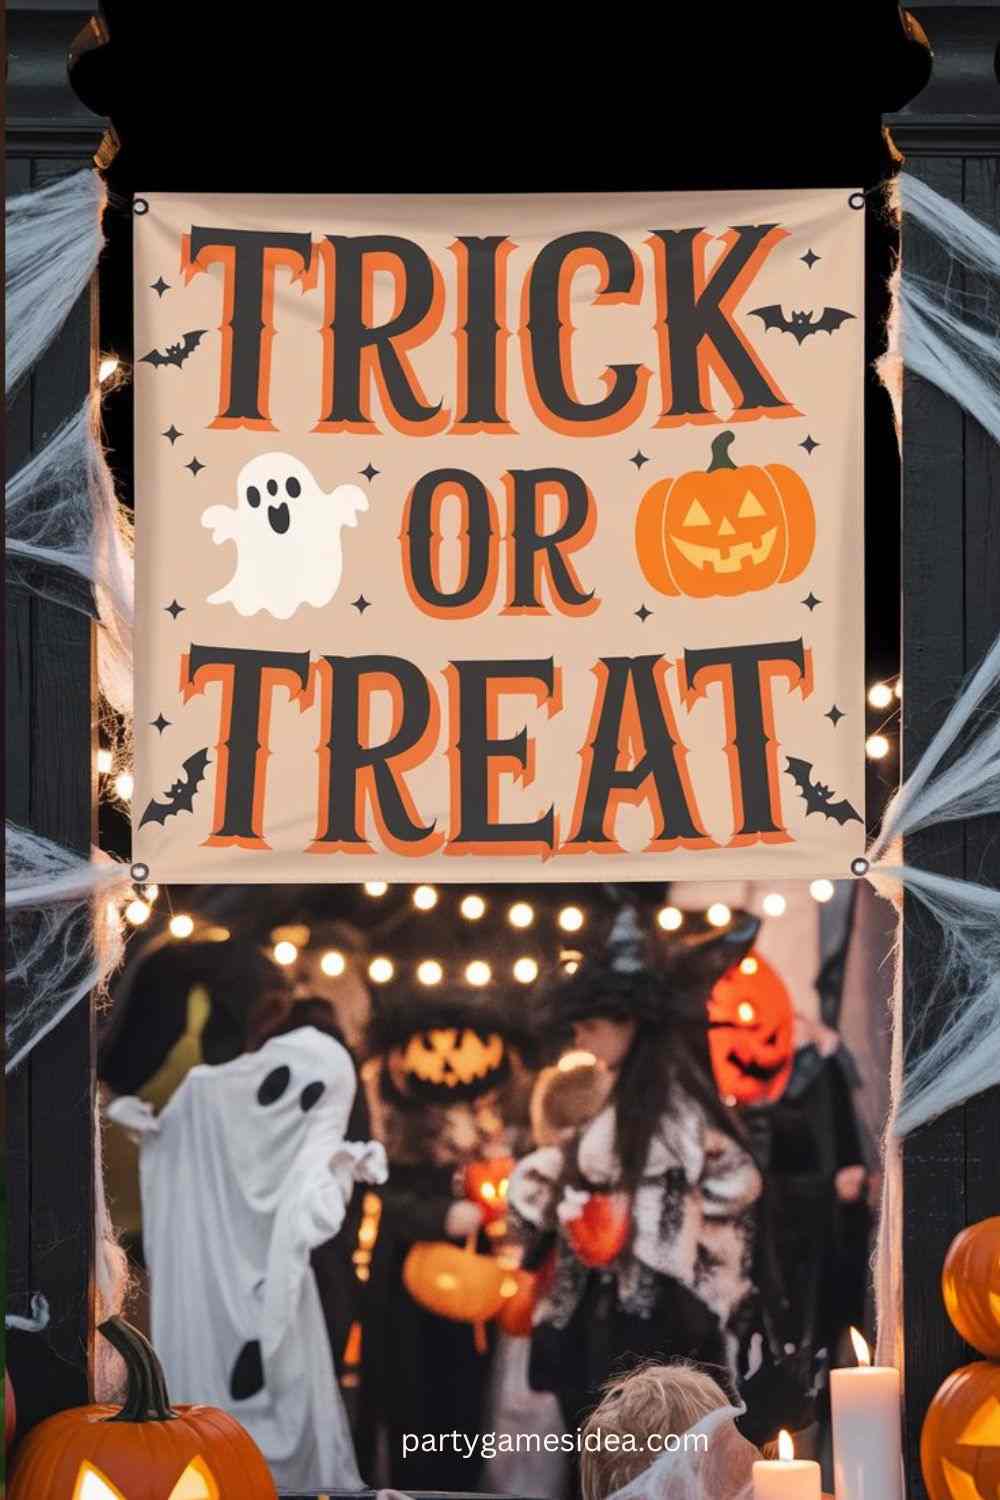
- Setup: Position it where guests collect candy.
- Tips: Use bold colors to make it pop.
- Materials: Colorful cardstock, string, scissors.
Skeleton Dance Banner
Incorporate dancing skeletons for a lively and humorous touch.
- Setup: Hang in the main party area.
- Tips: Create movement by attaching them with string.
- Materials: Black and white paper, markers.
Full Moon Banner
Feature a spooky full moon to complement your Halloween decor.
- Setup: Place it behind a dessert table or photo area.
- Tips: Use glow-in-the-dark paint for an eerie glow.
- Materials: Yellow paper, black backdrop, string.
Candy Corn Countdown Banner
Celebrate the season with a candy corn-themed banner.
- Setup: Hang it in a candy station or dessert area.
- Tips: Use real candy corn as accents.
- Materials: Yellow, orange, and white paper, string.
Enchanted Forest Banner
Create a mystical forest vibe with trees and owls.
- Setup: Display it as a backdrop for the party.
- Tips: Use varying heights for a layered effect.
- Materials: Green and brown paper, owl cutouts.
Vampire Lair Banner
Design a banner with vampire fangs and bats for a chilling theme.
- Setup: Place it above a drinks area or snack table.
- Tips: Use shiny materials for the fangs to catch light.
- Materials: Black and red paper, scissors.
Halloween Countdown Banner
Count down the days until Halloween with a fun and festive banner.
- Setup: Hang it prominently for all to see.
- Tips: Change the number each day leading up to the party.
- Materials: Cardstock, string, markers.
Scarecrow Banner
A scarecrow-themed banner can add a rustic Halloween touch.
- Setup: Position it near outdoor spaces or entrances.
- Tips: Add straw for a tactile element.
- Materials: Brown fabric, hay, scissors.
Ghoulish Greetings Banner
Craft a banner with ghostly greetings in playful fonts.
- Setup: Display it where guests gather.
- Tips: Use varying sizes of letters for a dynamic look.
- Materials: White paper, black markers, string.
Halloween Party Hashtag Banner
Encourage guests to share their fun with a personalized hashtag banner.
- Setup: Hang it in a photo booth area.
- Tips: Promote your hashtag before the party for social media buzz.
- Materials: Cardstock, markers, string.
These Halloween party banner ideas will not only decorate your space but also add to the overall excitement and enjoyment of your festivities!
DIY Banner Ideas
Creating your own Halloween banners is a fun and engaging way to add a personal touch to your celebration. DIY banners allow for creativity, and you can customize them to perfectly fit your party theme. With just a few materials and some simple steps, you can craft eye-catching decorations that will delight your guests.
Materials Needed
To get started on your DIY banners, gather the following supplies:
- Paper Options:
- Cardstock in various colors (black, orange, purple, green)
- Fabric scraps (felt, burlap, or cotton)
- Tools for Crafting:
- Scissors for cutting shapes and letters
- Glue or double-sided tape for assembling pieces
- Markers or paints for adding designs and details
- String or twine for hanging the banners
Step-by-Step Instructions
Follow these steps to create your own Halloween banner:
- Choose Your Design:
- Decide on a theme for your banner, such as “Boo!”, “Trick or Treat,” or a combination of spooky images.
- Create the Letters:
- Use a stencil or draw freehand to create large, bold letters on your chosen paper or fabric.
- Cut out the letters carefully.
- Add Decorative Elements:
- Consider adding cut-out shapes like pumpkins, bats, or ghosts to enhance the design.
- Use markers or paints to add details, such as faces on pumpkins or stripes on a witch’s hat.
- Assemble the Banner:
- Lay out your letters and decorations on a flat surface to plan the arrangement.
- Attach the letters and shapes to the string or twine using glue or tape, ensuring there’s even spacing.
- Personalize Your Banner:
- Add names or dates for a customized touch, such as “Happy Halloween, [Your Name]!”
- Consider using different fonts or colors for each letter to create visual interest.
- Hang Your Banner:
- Find the perfect spot to display your banner, such as above a food table, entryway, or photo booth.
- Use tape or push pins to secure it in place, ensuring it’s visible and festive.
By following these steps and using your creativity, you can craft unique DIY banners that will enhance your Halloween party atmosphere and impress your guests!
Store-Bought Banner Options
If you’re looking for quick and hassle-free ways to decorate for your Halloween party, store-bought banners offer a wide variety of options. From spooky themes to customizable designs, these banners can add a festive touch without the need for DIY crafting. Here’s a closer look at where to find them and some unique options to consider.
Popular Retailers
When it comes to purchasing Halloween banners, several retailers stand out for their selection and affordability:
- Online Stores:
- Amazon: Offers a vast range of Halloween banners at varying prices, typically ranging from $10 to $30. You’ll find everything from simple designs to elaborate decorations.
- Etsy: Perfect for unique, handmade banners. Prices can range from $15 to $50, depending on customization and materials.
- Local Stores:
- Party City: A great source for themed decorations, including seasonal banners. Expect to pay between $5 and $20, with options for both kids and adults.
- Target: Known for trendy home decor, Target often carries stylish and seasonal banners, usually priced between $10 and $25.
Unique Finds
In addition to standard options, consider exploring some unique and customizable banners that can make your party stand out:
- Themed Banners:
- Look for banners that feature specific themes, such as haunted houses, witches, or classic Halloween colors. These often come pre-assembled for easy hanging.
- Customizable Options:
- Many retailers offer banners where you can personalize the text, allowing you to add names or specific phrases. This can range from $20 to $40, depending on the level of customization.
- Eco-Friendly Choices:
- For those looking to reduce their environmental impact, consider banners made from recycled materials or fabric that can be reused each year. These options can often be found at specialty eco-conscious retailers or on sites like Etsy, with prices typically around $15 to $35.
By exploring these store-bought options, you can easily find the perfect banners to enhance your Halloween party decor without the need for extensive crafting!
Banner Placement and Decoration Tips
Strategically placing your Halloween banners can significantly enhance the festive atmosphere of your party. With the right locations and complementary decorations, your banners will draw attention and create a cohesive look throughout your space. Here are some tips for effective banner placement and decoration.
Where to Hang Banners
Choosing the right locations for your banners is crucial for maximizing their impact:
- Entrance:
- Hang a welcoming banner at the front door to greet guests as they arrive. This sets the tone for the party and creates excitement before they even step inside.
- Food Area:
- Position banners above the food table or buffet. This not only adds a festive touch to the meal but also helps to define the eating space, encouraging guests to gather around.
- Photo Booth:
- Create a backdrop with a banner in your designated photo booth area. This encourages guests to take pictures and share memories, making it a focal point of the party.
Complementing Decorations
To enhance your banners and create a cohesive decor theme, consider pairing them with other decorations:
- Balloons:
- Use balloons in Halloween colors (orange, black, purple) to frame your banners. Cluster them at the ends of the banner or create an arch for added visual interest.
- Lights:
- String lights or fairy lights can create a magical atmosphere. Drape them around banners or hang them nearby to add warmth and a spooky glow to your setup.
- Table Settings:
- Coordinate your banners with themed table settings, such as Halloween-themed plates, napkins, and centerpieces. This creates a unified look across the party space.
- Props:
- Incorporate Halloween-themed props, like pumpkins, skeletons, or spiders, alongside your banners. This not only enhances the overall theme but also provides additional visual elements for guests to enjoy.
By thoughtfully placing your banners and complementing them with other decorations, you can create a captivating Halloween party atmosphere that will impress your guests and keep the spirit of the season alive!
FAQ
What materials are best for DIY Halloween Party Banner Ideas?
The best materials for DIY Halloween banners include:
- Cardstock: Durable and available in various colors.
- Fabric: Felt or burlap for texture.
- String: Twine or ribbon for hanging.
- Decorative Supplies: Glitter, markers, or paint for embellishments.
These materials will help create festive and eye-catching banners!
How do I personalize my Halloween Party Banner Ideas?
You can personalize your Halloween banner by:
- Adding Names: Write or print the names of guests or family members.
- Using Dates: Include the date of the event for a special touch.
- Custom Phrases: Use fun phrases like “Welcome to [Your Name]’s Halloween Party.”
- Unique Designs: Incorporate personal elements like favorite colors or themes.
- Creative Fonts: Mix different fonts and styles for visual interest.
These ideas will make your banner unique and tailored to your celebration!
Where is the best place to hang my banners?
The best places to hang your Halloween banners include:
- Entrance: Above the door to greet guests as they arrive.
- Food Area: Over the buffet or snack table to define the space.
- Photo Booth: As a backdrop to encourage fun photo opportunities.
- Living Room: Across walls where guests gather for conversation.
- Staircase or Railings: To create a festive atmosphere in multiple areas.
These locations will help maximize visibility and enhance the party vibe!
Can I reuse Halloween Party Banner Ideas for future parties?
Yes, you can reuse Halloween Party Banner Ideas for future parties! If you use durable materials like fabric or sturdy cardstock, they can be stored and brought out each year. Just make sure to keep them in good condition, and consider how easily they can be customized for different themes if needed. Reusing banners is a great way to save time and resources!
Are there eco-friendly options for Halloween Party Banner Ideas?
Yes, there are several eco-friendly options for Halloween Party Banner Ideas:
- Recycled Materials: Look for banners made from recycled paper or cardboard.
- Fabric Banners: Use natural fabrics like cotton or burlap that can be reused year after year.
- Biodegradable Decor: Choose banners made from biodegradable materials.
- DIY Options: Create your own banners using scrap materials or upcycled items.
These options help reduce waste while still adding festive flair to your celebrations!

Hi, I’m Hailey Say, the proud mom and owner of PartyGamesIdea.com. As a dedicated party designer and an expert in party ideas, I have a deep passion for crafting memorable and enjoyable experiences for every occasion. From holiday games to baby showers, bridal showers, bachelor parties, group gatherings, and more, I specialize in creating unique and fun party ideas that cater to all age groups and interests.
With an extensive collection of ideas ranging from printable games, teen and adult games, kids’ party activities, birthday party games, girls’ games, memory games, family games, and outdoor games, I aim to make every event special. My expertise also extends to themed parties such as dinner parties, brunch parties, graduation celebrations, college parties, and fun night games.
On PartyGamesIdea.com, I share my passion and creativity, helping people turn their party visions into reality. With years of experience and a keen eye for detail, I am committed to making your event planning process enjoyable and stress-free. Join me on PartyGamesIdea.com, and together, we’ll create unforgettable memories for you and your loved ones.