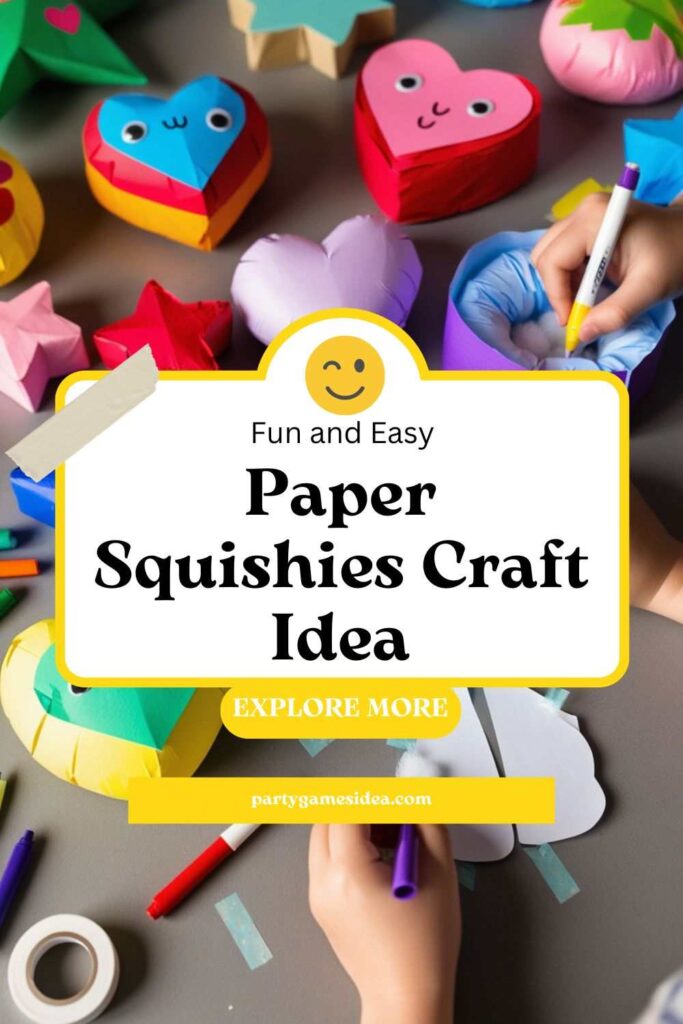
If you’re looking for a creative project that’s both simple and satisfying, the Paper Squishies Craft Idea is perfect for you! Paper squishies are small, soft, homemade toys made from paper and stuffing materials, designed to be colorful, squeezable, and completely customizable. They’re a fun, easy, and affordable DIY craft that people of all ages can enjoy, making them a great choice for kids and adults alike. Not only do paper squishies offer a unique crafting experience, but they’re also a fantastic way to express creativity with endless design possibilities—from cute animals and favorite foods to emojis and seasonal themes.
Supplies Needed for Making Paper Squishies
Here some supplies needed for Paper Squishies Craft:
- White Paper or Cardstock
- Regular printer paper works, but cardstock is more durable and can handle more stuffing without tearing.
- Markers, Colored Pencils, or Crayons
- Used to decorate and add vibrant colors to your squishies.
- Markers are ideal for bold colors, while colored pencils allow for shading and detail.
- Scissors
- Essential for cutting out your designs.
- Be careful with sharp scissors, especially if kids are crafting.
- Clear Tape or Packing Tape
- This seals the edges and keeps the stuffing inside.
- Packing tape is sturdier and creates a smooth, glossy finish on the squishy.
- Stuffing Material
- Common options include cotton balls, memory foam scraps, or shredded plastic bags.
- Foam or cotton gives a soft, squeezable texture.
- Optional: Templates or Stencils
- Helpful for beginners or those looking for a specific design.
- Templates can be printed from online sources or traced from images.
These supplies are easy to find, often at home or in craft stores, making this a budget-friendly and accessible craft project!
Steps To Make Paper Squishies Craft Idea
Creating paper squishies is a fun and easy DIY project that anyone can enjoy! Follow these six simple steps to make your own unique, squeezable designs.
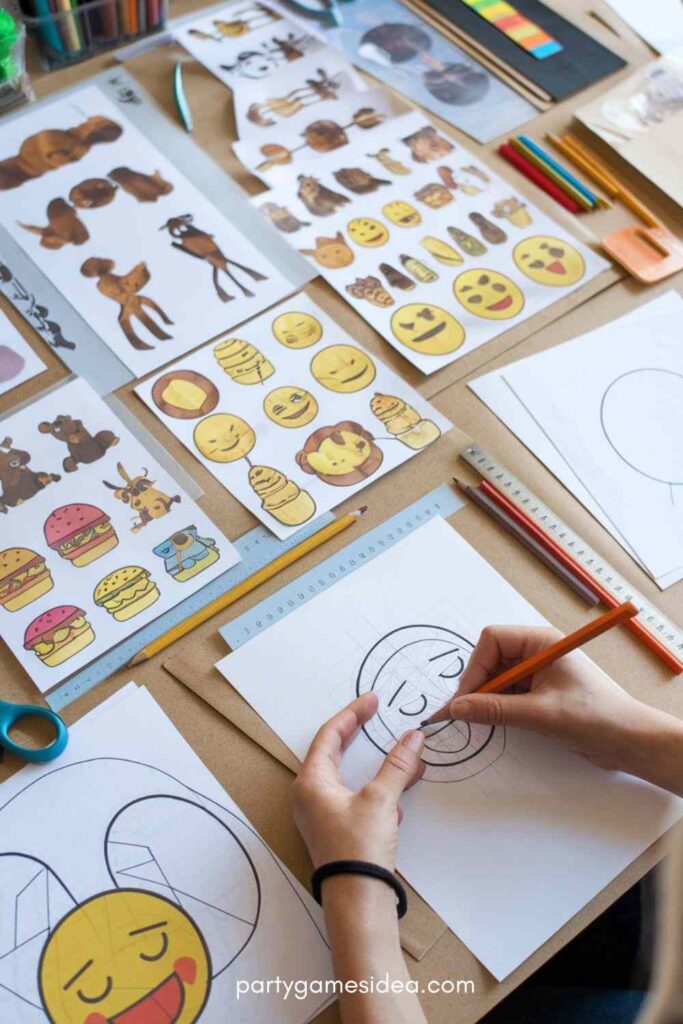
Step 1: Choose Your Design
- Decide on a Shape or Theme: Think of something fun to create, like an animal, a favorite snack, or even a funny emoji. The design can be as simple or detailed as you’d like.
- Use Templates or Draw Freehand: If you’re a beginner, you can print templates or use stencils to trace a shape. Otherwise, sketch your design directly on the paper.
- Make Two Identical Shapes: You’ll need to create both a front and back piece, so ensure you draw or trace two identical shapes on your paper.
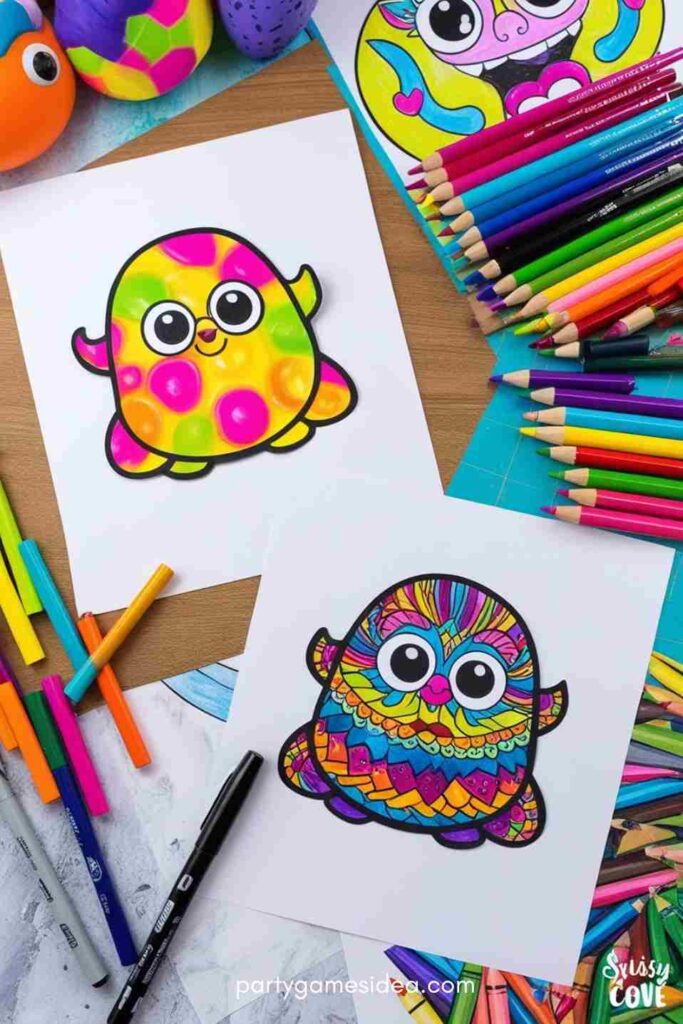
Step 2: Draw and Decorate
- Outline Your Design: Use a black marker or pen to outline your design on both pieces of paper to make it stand out.
- Add Color: Fill in your design with markers, colored pencils, or crayons. For a vibrant look, use markers, and for softer details, use colored pencils.
- Add Details and Highlights: Give your squishy extra personality with details like patterns, facial expressions, or highlights. Adding shadows or textures can also bring your design to life!
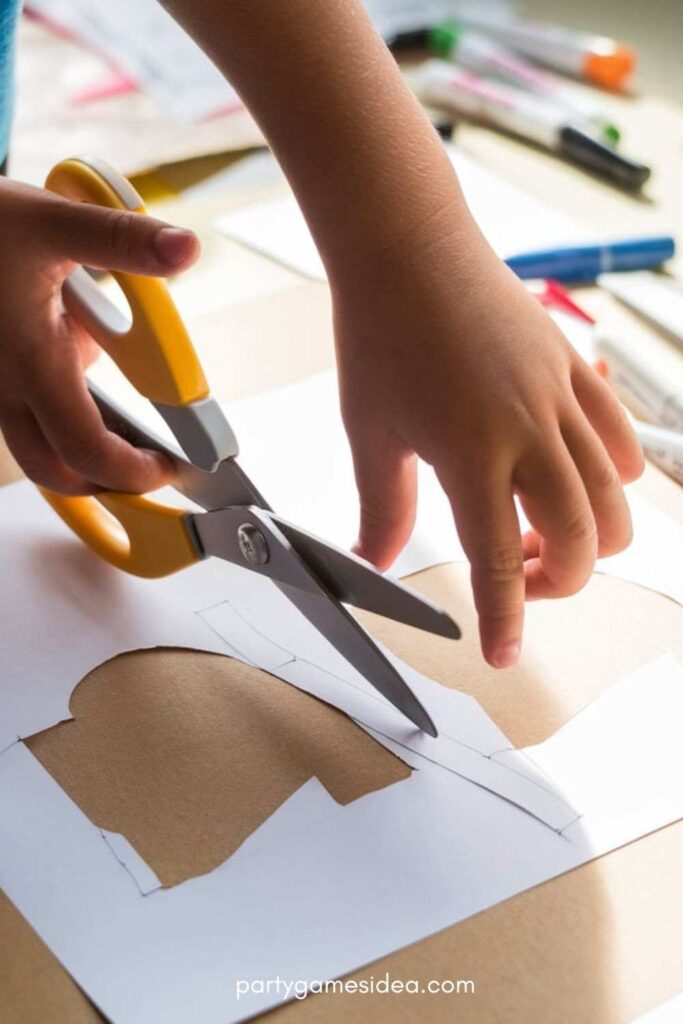
Step 3: Cut Out the Shapes
- Cut Both Pieces Together: Carefully cut out the two identical shapes from your paper. Cutting both pieces together ensures they’ll line up perfectly later.
- Safety Tips: If kids are doing this, be sure they use safety scissors, and always cut away from themselves.
Step 4: Tape the Edges
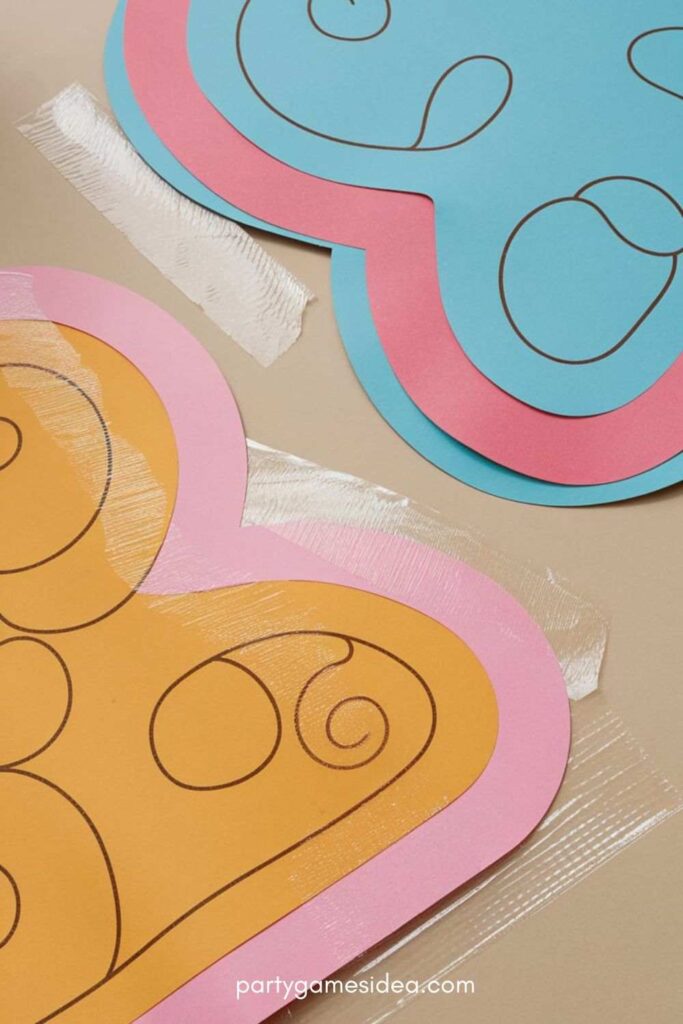
- Start Taping Along the Edges: Use clear tape or packing tape to seal the edges of your two paper shapes, but leave a small opening (about an inch or so) at the top.
- Apply Tape Smoothly: To avoid wrinkles or air bubbles, apply the tape carefully. Packing tape is sturdier and provides a glossy finish, which many people prefer for a polished look.
- Double-Tape If Necessary: If you notice any small gaps, use extra tape to reinforce those areas, which will prevent the stuffing from spilling out.
Step 5: Add the Filling
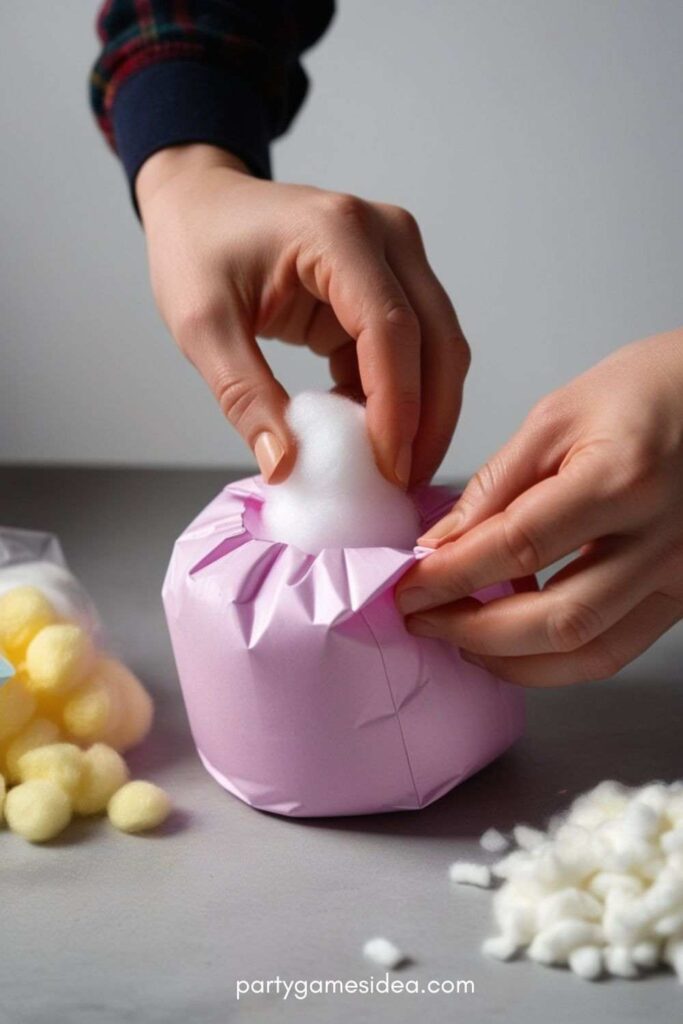
- Choose Your Stuffing Material: Use cotton balls, memory foam scraps, or even plastic bag pieces as stuffing. These materials provide a soft, squeezable texture.
- Fill Your Squishy: Gently push the stuffing material into the small opening. Add just enough stuffing to give it a soft, squeezable feel, but avoid overstuffing, which can make it hard to squish.
- Adjust as Needed: Once stuffed, lightly press down on the squishy to ensure the filling is evenly distributed.
Step 6: Seal the Opening
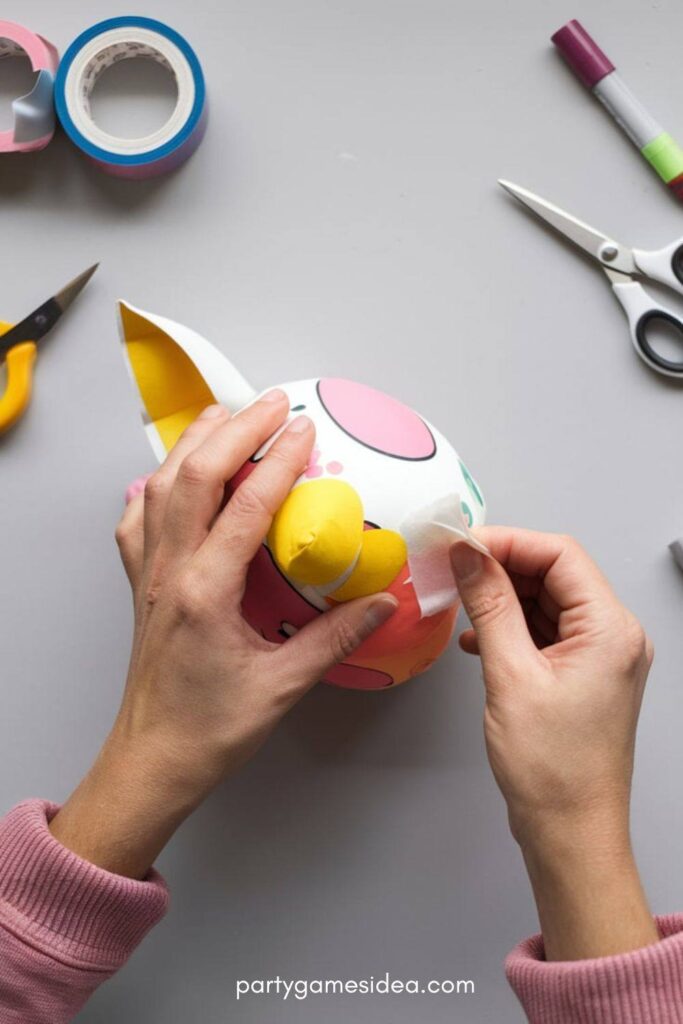
- Close the Last Edge: With the filling in place, tape over the open edge to close it. Apply tape smoothly and securely to prevent any filling from escaping.
- Smooth Down Any Tape Edges: Run your fingers over the taped edges to make sure everything is sealed tight and smooth.
Your paper squishy is now complete! Give it a gentle squeeze and enjoy your custom-made squishy toy. Feel free to experiment with different shapes, colors, and designs to create a whole collection of squishies.
Tips and Variations
Once you’ve mastered the basics of making paper squishies, the creative possibilities are endless! Here are some fun ways to personalize your squishies and make them even more unique. Try out these ideas to add a special touch or turn your creations into functional, decorative items.
Creative Ideas to Personalize Each Paper Squishy
- Add Glitter or Sparkles: Use glitter glue or adhesive gems to make your squishy sparkle and stand out.
- Use Different Colors and Patterns: Experiment with tie-dye patterns, polka dots, or stripes to give each squishy a unique look.
- Add Expressions or Accessories: Draw fun facial expressions, sunglasses, or hats to give each squishy its own personality.
Make Functional Squishies
- Turn Into Keychains: Attach a keyring to one corner, making a mini squishy keychain to take on the go.
- Create Fridge Magnets: Attach a small magnet to the back, transforming your squishy into a decorative fridge magnet.
- Use as Desk Décor: Prop your squishies on a desk or shelf for a fun, colorful display.
Ideas for Themed and Seasonal Squishies
- Holiday Designs: Make Christmas trees, snowflakes, or holiday ornaments to decorate during the season.
- Halloween Fun: Try pumpkins, ghosts, or black cats for a spooky touch.
- Birthday and Celebration Themes: Customize squishies as cupcakes, balloons, or wrapped gifts for party favors.
With these tips, your paper squishies can be more than just toys—they can be creative decorations, memorable keepsakes, or even functional accessories.
Benefits of Making Paper Squishies
Creating paper squishies offers several wonderful benefits beyond just being a fun craft. It’s an activity that promotes creativity, helps develop fine motor skills, and even provides stress relief. Here’s why making your own paper squishies can be so rewarding:
- Promotes Creativity: Designing your own squishies encourages you to think outside the box and experiment with colors, shapes, and patterns. Each squishy can be uniquely personalized, giving you the chance to express yourself artistically.
- Develops Fine Motor Skills: The cutting, drawing, and taping steps involved in making paper squishies help improve hand-eye coordination and fine motor skills. This makes it a fantastic activity for kids as they build these essential skills.
- Provides Stress Relief: Both the crafting process and the finished squishy offer a calming experience. Many people find squeezing a soft toy relaxing, making homemade squishies a great stress-relieving tool.
- Eco-Friendly Alternative: Compared to store-bought squishies made from synthetic materials, paper squishies are more environmentally friendly. They require fewer resources, and you can make them using items you likely already have at home.
Making paper squishies is not only fun but also offers a range of benefits for the mind, body, and environment.
Troubleshooting Common Issues
While making paper squishies is generally a straightforward and enjoyable craft, you may encounter a few common issues along the way. Here are some typical problems and quick fixes to help you create the perfect squishy!
1. Tearing Edges
- Problem: When cutting or taping, the paper may tear, especially if you’re using thin paper.
- Quick Fix: If you notice tears, reinforce the area with clear tape. Alternatively, consider using a sturdier type of paper, like cardstock, which is less likely to tear during the crafting process.
2. Stuffing Falling Out
- Problem: If the stuffing is spilling out, it could be due to inadequate sealing or a gap in the tape.
- Quick Fix: Check for any gaps in the tape and apply additional tape to secure those areas. Make sure to seal the opening tightly and completely after adding stuffing. If the issue persists, consider using a thicker tape or adding an extra layer of tape around the edges.
3. Squishy is Too Hard or Overstuffed
- Problem: If your squishy feels too firm and doesn’t have that satisfying squeeze, you may have overstuffed it.
- Quick Fix: Open the squishy gently at the taped edge, remove some of the stuffing, and reseal it. Aim for a balance—enough stuffing to make it squishy, but not so much that it becomes rigid.
4. Design Smudging or Fading
- Problem: Markers or colored pencils may smudge or fade, especially if they’re not permanent or if moisture gets on them.
- Quick Fix: Use permanent markers for bold, lasting designs. If using colored pencils, consider sealing your squishy with a light layer of clear acrylic spray or mod podge to protect the artwork.
5. Uneven Shape or Size
- Problem: If your squishy doesn’t look symmetrical, it may be due to uneven cutting.
- Quick Fix: Use a ruler or template to trace your designs before cutting, ensuring consistent shapes. If you notice uneven edges after cutting, you can trim the edges for a neater appearance.
By keeping these troubleshooting tips in mind, you can effectively address any issues that arise while making your paper squishies, ensuring a successful and enjoyable crafting experience!
FAQ

Hi, I’m Hailey Say, the proud mom and owner of PartyGamesIdea.com. As a dedicated party designer and an expert in party ideas, I have a deep passion for crafting memorable and enjoyable experiences for every occasion. From holiday games to baby showers, bridal showers, bachelor parties, group gatherings, and more, I specialize in creating unique and fun party ideas that cater to all age groups and interests.
With an extensive collection of ideas ranging from printable games, teen and adult games, kids’ party activities, birthday party games, girls’ games, memory games, family games, and outdoor games, I aim to make every event special. My expertise also extends to themed parties such as dinner parties, brunch parties, graduation celebrations, college parties, and fun night games.
On PartyGamesIdea.com, I share my passion and creativity, helping people turn their party visions into reality. With years of experience and a keen eye for detail, I am committed to making your event planning process enjoyable and stress-free. Join me on PartyGamesIdea.com, and together, we’ll create unforgettable memories for you and your loved ones.

